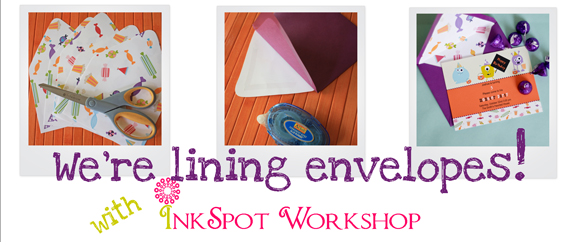
by Stacy Altiery of InkSpot Workshop
Hello everyone! I get tons of questions about how I line my envelopes. They range everywhere from…”do you use a machine?” to “where do you buy your liners?” Today’s post is where I hope to shed some light on the subject and most importantly inspire you to try your hand at a few. Although envelope lining is a labor of love, nothing makes your invitation or stationery set look more coordinated than this!

Step 1 – Make It Your Own
There’s nothing I enjoy more than making up a design for my envelope liners made to match a special element in my invitation or stationery design. I make my design on an 8.5 x 11 sheet of paper on my computer screen and also print that size. If you are not going to use a computer to make your own design, scrapbook paper or wrapping paper work like a charm. Since I use envelopes from Paper Source I purchased their Envelope Liner Template Kit and simply trace the template onto your sheet of paper. If you are using 8.5 x 11 paper and using an A2 liner like mine shown, you will need to overlap the 2 slightly in the middle and make sure you cut right in the center of where the two liners intersect. This will make the liner slightly narrower than the actual envelope, but it doesn’t show up at all.

Step 2 – Ready, Set, Cut & Glue
Next cut all of your liners with super sharp scissors and get your favorite Glue Runner ready to go. I do not like white glue as it puckers the paper, instead I am a Glue Runner loyalist and only use Ad Tech’s Permanent Bond Glue Runner, which can be purchased in just about any craft supplies department or online at Create For Less, which is where I purchase in bulk.
Step 3 – Anchors Aweigh
Now apply just a little strip of glue to the plain side of the paper, along the flat bottom portion of the liner, place liner inside of envelope and make sure the liner is placed exactly where you want it, not overlapping the gummed stripped for licking. When it is lined up as you’d like, press down to make sure the bottom of the liner is anchored to the bottom of the envelope. This little step will prevent slippage as you now get ready to glue the other half.
Step 4 – “V” is for Victory
Now that your liner is securely anchored inside your envelope and it is lined up perfectly, turn envelope over, lay printed side of liner on workspace and gently pull envelope flap back. Now with your glue runner apply a V shaped line of glue to your liner. Flip envelope over and press liner into envelope.
 Step 5 – Crease Me
When envelope liner is securely stuck inside of your envelope, use your hands or a bone folder and fold the flap of the envelope to get a nice crease in your liner, which will help your envelope lay flat.
 That’s it! Hope you enjoyed this little tutorial. To see my Magnet Making Tutorial I did here on Oh My Handmade a few months ago, click here


