by Stacy Altiery of InkSpot Workshop
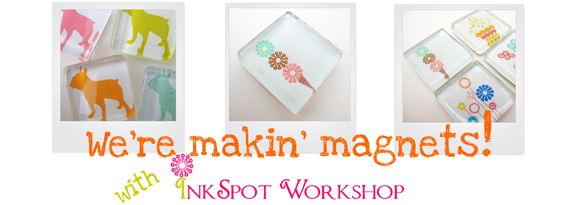
Hello Everyone! Ready to get some sticky fingers? Well roll up your sleeves because we’re getting ready to make those cute glass magnets you see everywhere. Or, instead of gluing magnets to the backs of your tiles, try bails (the little things that allow your glass tile to hang from a chain), and make an adorable pendant. All supplies listed below can be found on Etsy.
Materials
- Hard drying epoxy glue (like Diamond Glaze)
- Glass tiles – any shape, just as long as one side is flat
- Magnets – sized according to your glass tile
- Paper images
- Craft knife
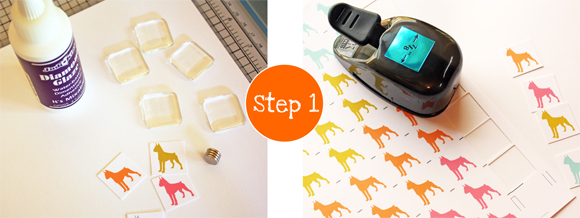
Step 1: It’s All About Image
Once you have decided on the size of your glass magnet, find images that you’d like to use. Some people use scrapbook paper for a patterned effect, or you can print out an image in a size to match your magnet. My glass tiles are approximately 1 inch square, so I print out my images and use a 7/8 square punch. My Epson 1400 Stylus printer ink does not smear when wet with glue – this is super important to make a test first. I also use heavy card stock to print my images.
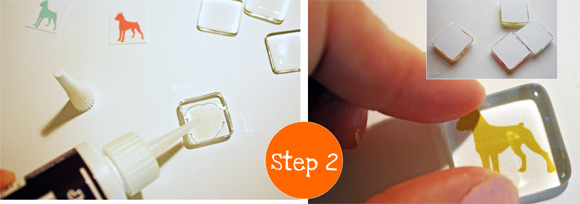
Step 2: I’m Stuck On You
Apply glue in a think layer to the flat side of your glass tile. Make sure to spread glue to edges. Press tile onto your paper image firmly to make sure all those pesky air bubbles disappear. Flip over, and allow to dry for several hours or overnight.
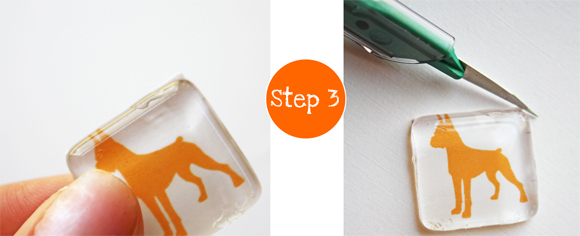
Step 3: Scalpel Please!
This is the most important step in the magnet making process and also the most tedious. I use the world’s sharpest scalpel (thanks to my day job) in order to precisely trim the excess paper and glue from around my edges. Please refer to me as Dr. Magnet when I’m performing this surgery:) OK, you don’t need surgical grade scalpels for this, any sharp craft knife will do.

Step 4: Seal The Deal
Apply a strip of glue around the edge of your glass tile’s backside. This will secure the paper edges and ensure a nicely sealed magnet that will last for years. Fill in your strip. Use a pin to pop any pesky bubbles that form in the glue.
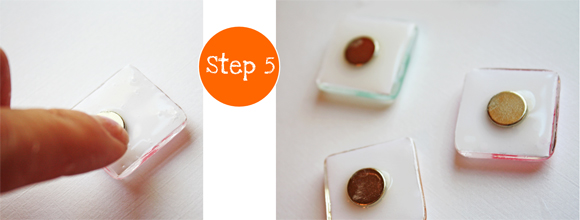
Step 5: Magnetic Attraction
While the glue is still wet, apply magnets to the center of your glass tile. Allow to dry for several hours or overnight, making sure not to place these little guys too close to each other or your magnets will shift because they really like each other:)
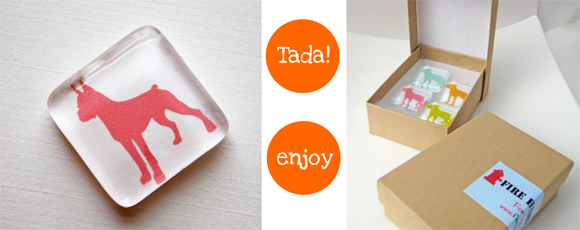
All done! Wasn’t that easy? Your creativity can go wild with these. Check out the magnets shown in this tutorial by clicking here or here. Here is a sample of glass tile pendants.
Thanks for stopping by!

