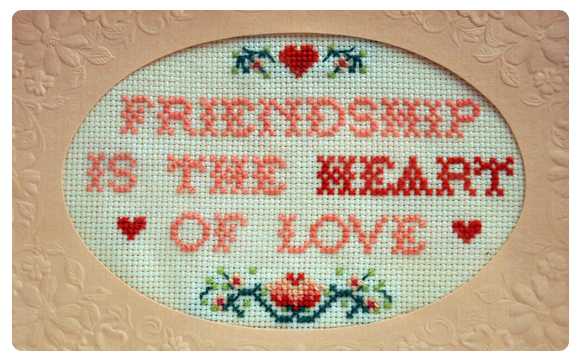
Cross-stitch has a heritage all of its own having been around since at least 1635. The earliest known counted cross-stitch sampler is housed at Pilgrim Hall in Plymouth, Massachusetts. The sampler was created by Loara Standish, the daughter of Captain Myles Standish (one of the Mayflower passengers that helped in the formation of the Plymouth Colony). The sampler is arranged in horizontal bands, in a counted cross-stitch pattern of roses, carnations, oak leaves and an intertwined “S” that goes throughout the pattern with a verse at the end. It is a very detailed sampler with a variety of colors, and impressive precision in the counted stitches.
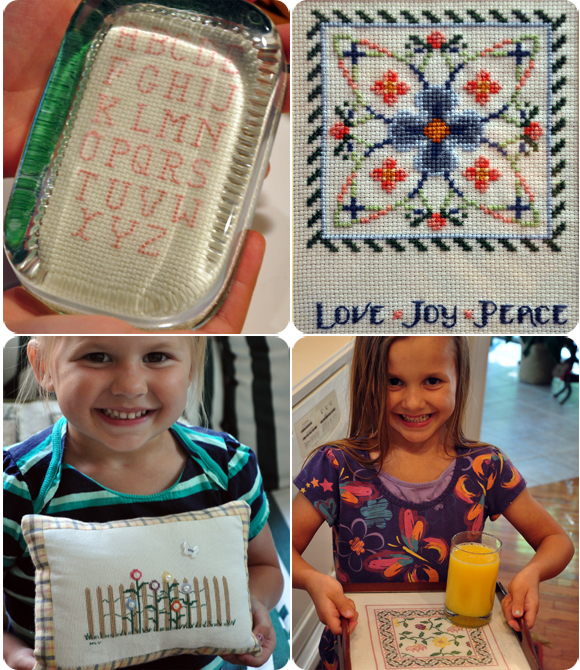
There are two types of cross-stitch techniques, counted and stamped. I tend to lean towards counted cross-stitch rather than stamped in just that it is what I was taught by my mom. I started to cross-stitch when my family spent our summer vacations at our family cabin in Canada. My mom and I started our stitchery tradition shortly after finishing the dinner dishes and getting settled in for the evening. My dad, uncle, grandparents and cousins played euchre while we cross-stitched our future Christmas ornaments for family, a small wall hanging as a gift or even a paperweight. Even though we were not playing euchre but cross-stitching, we were all together at the long kitchen table chatting, laughing and having fun during these special times together.
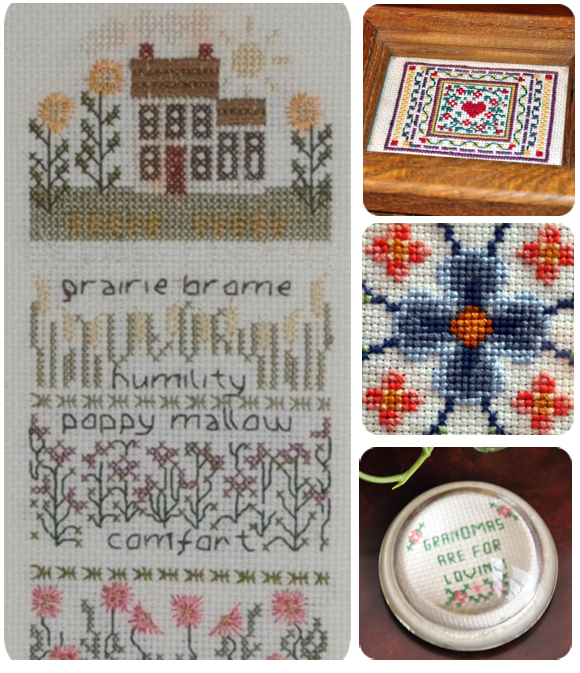
One of the great things about the OMHG community is the sharing and learning from each other. There is one thing we all have in common and that is the passion for handmade. I thought you might enjoy seeing some of the various counted cross-stitch pieces that I have made for my family over the years.
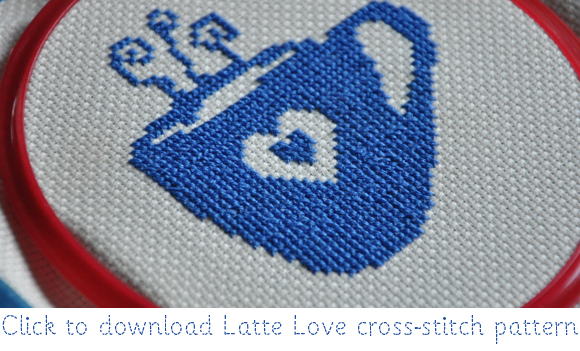
Whether you are seasoned cross-stitch maker or just beginning your journey please follow the link below to a fun and simple cross-stitch design I created. If you are new to counted cross-stitch, just refer to the list of tools and the instructions below and let the fun begin!
Your Tools:
• A pattern
• Embroidery hoop
• Aida cloth
• Embroidery floss
• Scissors
• Masking tape
• Needle
• And patience
A quick and useful trick I learned was to tape the edges of your Aida cloth so that it does not ravel as you stitch. Take a length of tape roughly equal to the length of your Aida cloth and place it length-wise along the edge of your cloth so that half of the tape is on the top of the cloth and the other half is hanging off the sides. Do this for all four sides of the fabric.
Next you will want to find the center of your Aida cloth. To find the center of the cloth, fold it lengthwise, then widthwise and crease it. Mark the center with a pin so that you know which square to begin your first stitch. Your first stitch on the cloth will also be the center of the pattern you are using. Now to find the center point quickly on your pattern (and Hi Mamma’s pattern) you will find two arrows, one at the left side and at the top of the pattern. Follow the direction of the arrows to the point where they will intersect.
Place your embroidery hoop onto the fabric, with the colored hoop (top) on the front and then turn over carefully the cloth and place the back of the hoop on the underside of the fabric. You want to make sure the hoop is on the fabric securely and that you have good tension on the fabric; you do not want it to be loose. If it is loose then your stitches will not be sharp/precise and will have a little slack in them and possibly some puckering in the fabric when finally completing the pattern.
One thing that I think makes a cross stitch “stitch” look neat and tidy is being consistent in the way you make your stitches. For example, make your first stitch go “/” or from lower left to upper right across a square and then crossing over to complete the “x” from lower right to upper left. Then go to the next square and repeat the order to make each stitch uniform.
X X X X X
Embroidery floss comes in six strands. When stitching you will want to pull apart three strands for cross stitching and have the strand roughly around 14 inches in length, so that when you pull the floss through the Aida cloth so that it does not get caught or knot up on you when cross-stitching. It is good to keep the extra strands in a convenient location so that you can easily retrieve it for re-threading.
When you have come to the end of your thread or color, the best way to close your stitch so that it does not come unraveled is to weave a little bit of your thread/needle underneath the lines of the stitching on the back. You want to make sure that the thread/needle does not come through on the front because otherwise it will be seen, you want it to be hidden.
If anyone has any questions about cross-stitching please do not hesitate to email me. From now until the end of the year, I will be creating various cross-stitch patterns for downloading so be sure to stop by Hi Mamma.

