by Michelle Vackar of Hi Mamma
With all of the daily activities of running your business it can be difficult at times to relax, decompress and enjoy life. Some people will find their escape in cooking, walking, yoga, reading a good book …really the list can go on and on because we each enjoy different forms of relaxation.
Back in my mid-to late twenties, I was working at an advertising/public relations agency and putting in an average of 50-60 hour work weeks. I was not married, no children and my career was my life, but one thing was missing: a time where I pampered myself, doing something that I enjoyed. As a birthday gift, my parents surprised me with a watercolor class at our local art center. I had always dabbled in watercolors while in college but never anything like formal training.
So I was rather quite excited to take the class, although I must admit, at first, it seemed a little odd to be leaving work at 6 p.m. to go take a watercolor class, when I was so much in the habit of working late or taking work home to do. But as the weeks went on, I was looking forward to Tuesday evenings; it became something that allowed me to clear my mind, create and most of all, to just have fun! From that first class, I think it was one of the best things that I did for myself. It allowed me to refocus and really create the work + life = balance perspective.
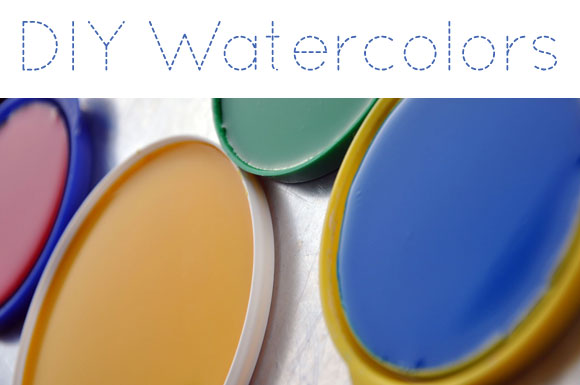
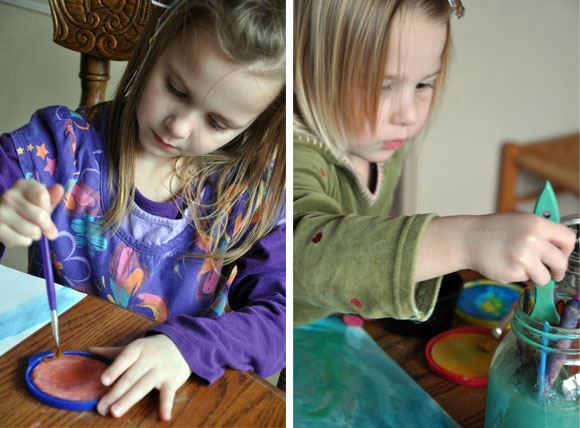
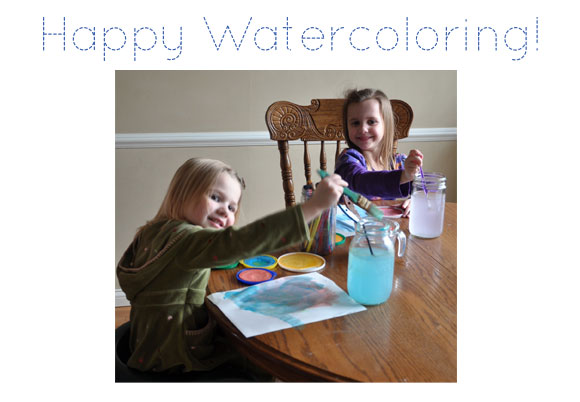
Today, one of my most favorite forms of relaxation is doing art/craft projects with my daughters. It is so much fun creating, sharing, working together, learning and designing all in one project! Back in October we enjoyed making handmade chalk that was featured on OMHG. To this day, we are still saving our paper towel rolls to make more chalk for this spring/summer. So this week, we decided to make handmade watercolors. I must say the colors were brilliant, in fact my daughters named our watercolors (1) Ocean Blue, (2) Lady Bug Red, (3) Sunny Yellow, and (4) Grassy Green. We wanted to share with you our recipe of fun!
Instructions
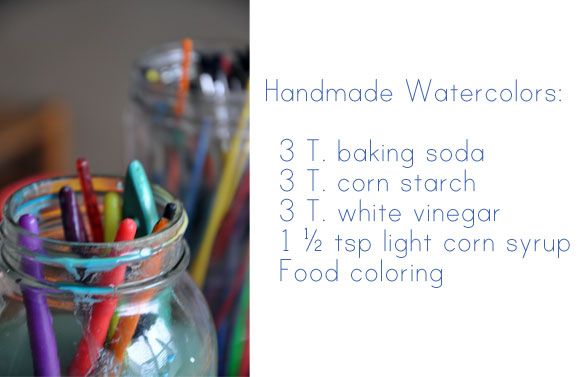
First, mix the baking soda, corn starch and light corn syrup together in a mixing bowl. Then mix in the white vinegar into your mixing bowl. You can divide this mixture into different containers and then add your food coloring for each color we placed 10-13 drops OR drop in your food coloring into the mixing bowl to make a large batch of one color.We made four batches of the above recipe, pouring each into a separate container to dry.
We used the lids from our Melissa & Doug painting containers, but you could also use any container lid, small ramekin, and egg carton. It takes roughly 24 hours for the watercolors to dry, but the thicker the depth of the watercolor, the longer it will take.
Although the colors were vibrant when first poured into the containers, they became more muted as they dried, and when we painted with them, the colors painted on to the paper nicely, but became lighter as they dried. If you want brighter colors, add a few more drops of food coloring. The paint will also have a little bit of texture to it, as baking soda is an ingredient.
An unexpected bonus of mixing up the paints was a little science lesson for my daughters. When mixing up the ingredients, I recommend using a slightly larger bowl than seems necessary so the kids can better enjoy the “science” volcano that slowly erupts as a result of mixing the vinegar into the baking soda mixture!
Here are a few helpful watercoloring tips that stuck with me from watercolor class that I thought you might enjoy:
- Paint the lighter watercolor tones first then add the dark tones.
- Use facial tissues or kitchen paper towels rather than toilet paper for dabbing off color and cleaning palettes. Toilet paper will partially dissolve into your paint leaving you with lumpy paint.
- Have your paper fastened to a board or table so that it does not move or allow the paint to run if it is bumped.

