by Marisa Edghill of Omiyage
This month, I wanted to share a project with you that is simple and challenging, useful and fun, and that you can make for yourself or as a Mother’s Day present.
Sounds great right? C’mon then, let’s make custom tea towels. Because, really, who doesn’t love a good tea towel?
The actual construction of the tea towels is a breeze. After making them, I thought to myself, why haven’t I been doing this for years?!
.
Now, here’s where the challenging part comes in. In customizing the tea towels, I want to challenge you to try something new. A new technique that you’ve always wanted to try but haven’t or something that you haven’t even thought of doing before. You’ll find directions below for stamping on fabric and creating fabric appliqués, but there’s no reason to stop there! Think of a tea towel as a blank canvas (though probably much cheaper!) and give yourself permission to make a little art. You’ll be expanding your crafty repertoire and freshening up your kitchen at the same time.
Let’s get started!
Sew Your Own Tea Towels
Materials:
- 1 metre fabric (40″) – this is enough fabric to make 4 towels!
- Matching thread
Tools:
- Sewing machine
- Pins
- Iron
Regarding the fabric, you’ll want to choose a medium weight fabric that is either 100% Cotton, 100% Linen or a combination of the two. The fabric I used for these towels was off-white cotton I found at Ikea. I think it’s this one. For me the great thing about making your own tea towels is that it’s simple and not at all fussy! You’re likely to find a suitable fabric in your local fabric store… or Ikea! If you don’t want to embellish your towels, you could use a cotton por linen rint.
Using 150cm wide fabric, I was able to make 4 large tea towels out of 1 metre of fabric with a little extra left over for practice stamping and stitching.
.
1. Before you begin – wash, dry and iron your fabric.
.
2. Cut fabric into 4 rectangles 50cm x 65cm (20″ x 25″).
.
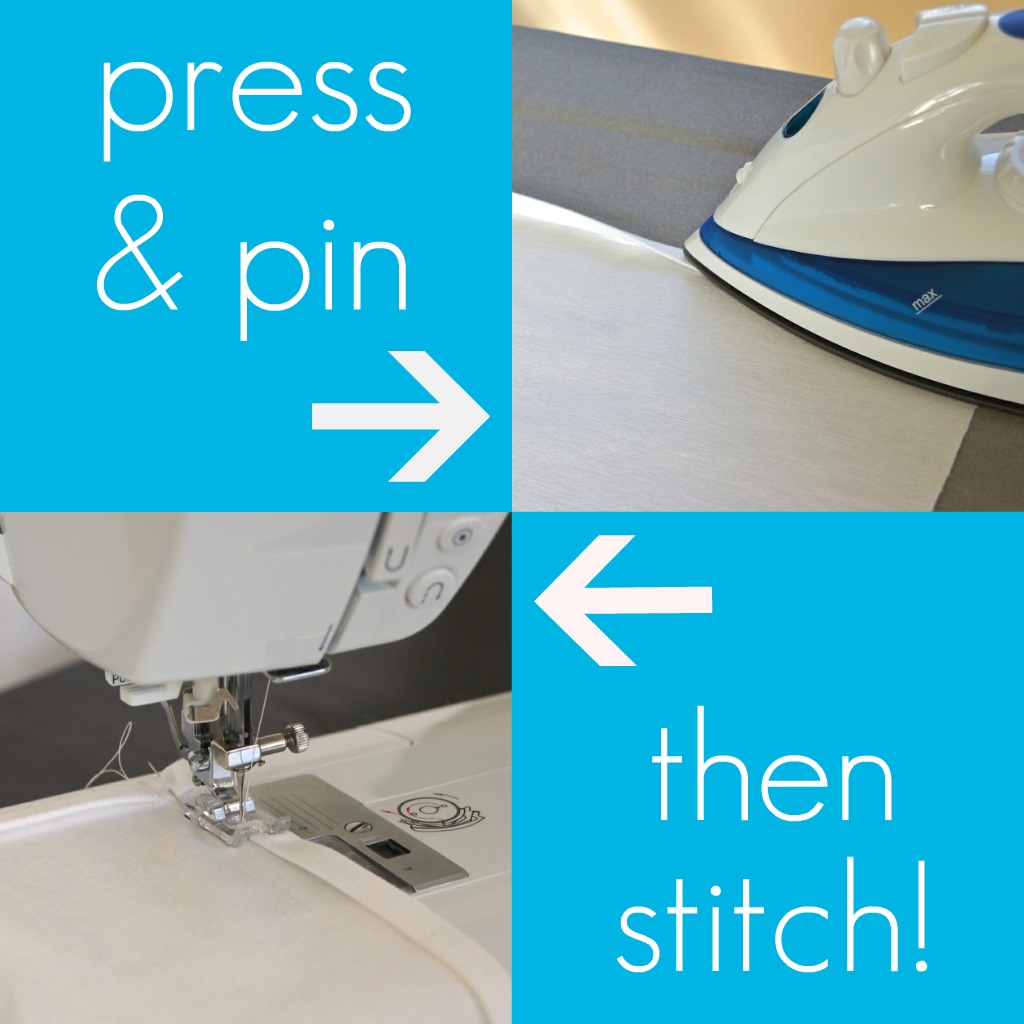
3. Place one of the fabric rectangles right side down on your ironing board. Starting with one of the long sides, fold the edge over about 1cm (1/4″) and press. Fold over another 1cm (1/4″) and press again. Pin into place. Repeat with the other long side, then the top and bottom. (If you’re feeling fancy, why not try making mitred corners?)
.
4. Stitch.
.
5. Congrats! You’ve just made a tea towel! Now we can have some fun!
.
Materials:
- Rubber stamps of your choice
- Fabric ink or paint (I used Versacraft)
- Iron
- One of those tea towels you just made!
.
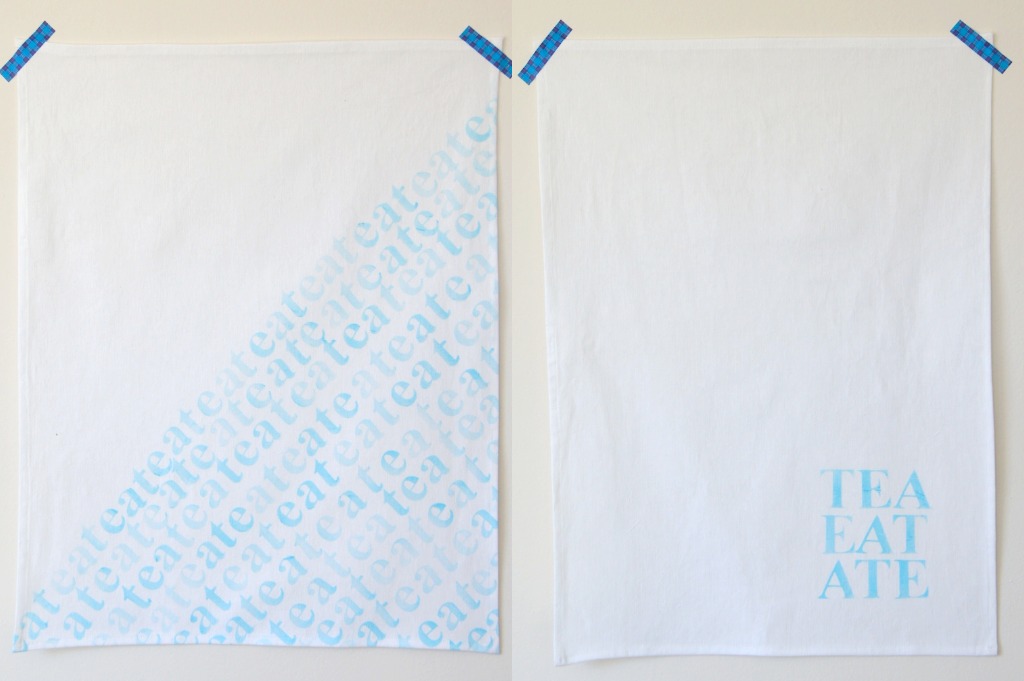
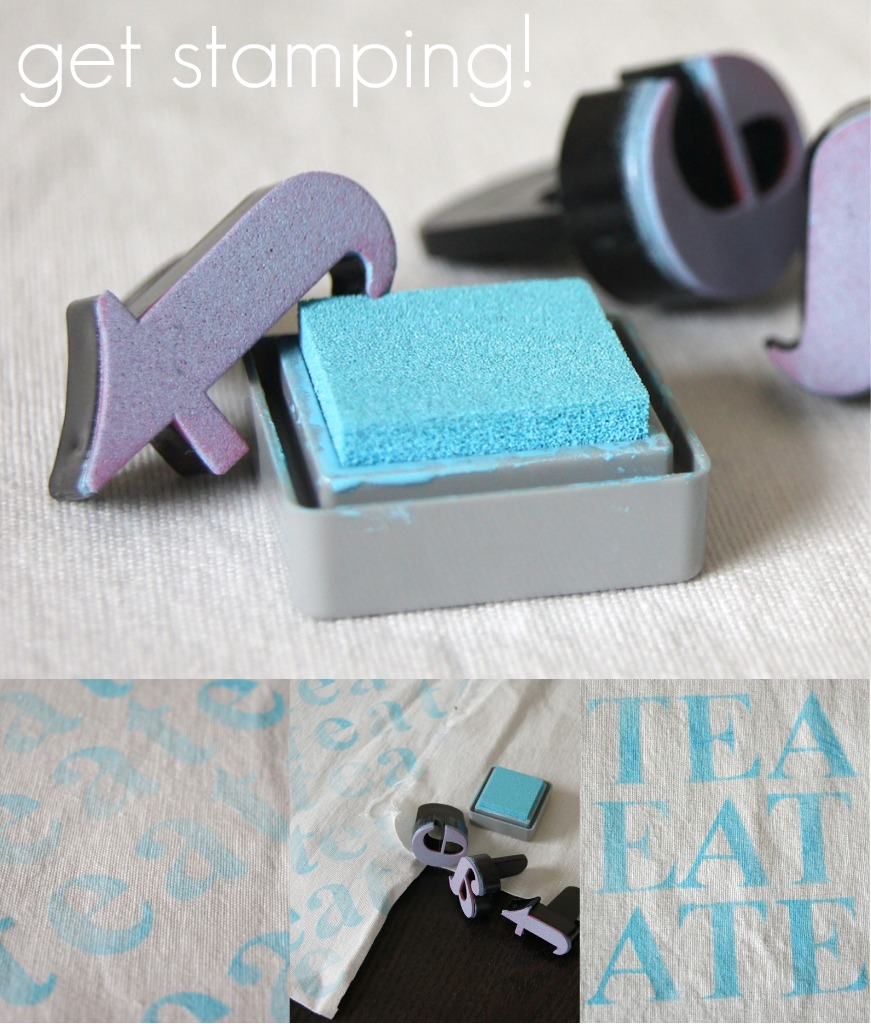
1. Plan out your design. Or don’t – I started with the idea of printing “eat” over and over again and as I began printing, I noticed that I was not only spelling out “eat” but also “tea” and “ate”. I played with these words by varying the darkness of the ink from line to line, emphasizing different words on each line. But, be warned, there’s no going back with this project – commit to happy accidents as they happen!
.
2. Practice on a scrap piece of fabric until you are comfortable with the amount of ink / paint needed per impression as well as how firmly to press down.
.
3.Stamp away!
.
4. When finished, allow the ink / paint to dry for 24 hours.
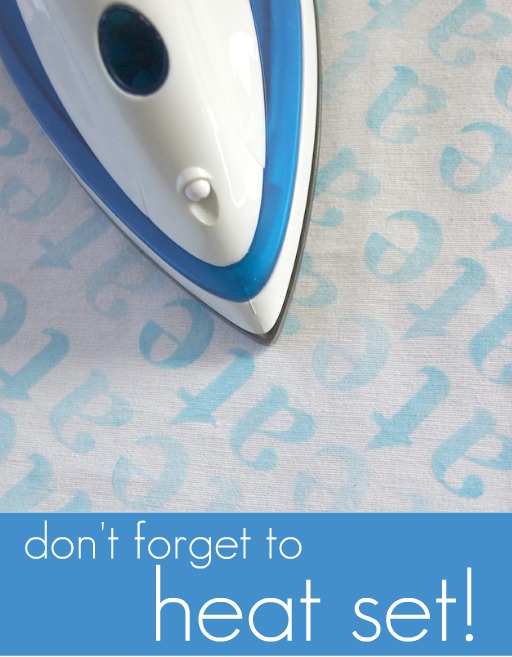
5. You will need to heat set the ink / paint to ensure it lasts. Follow the directions on your fabric ink / paint. I used a hot iron on the no-steam setting, ironing each portion of the stamped towel for 2 minutes.
.
6. Wash before use.
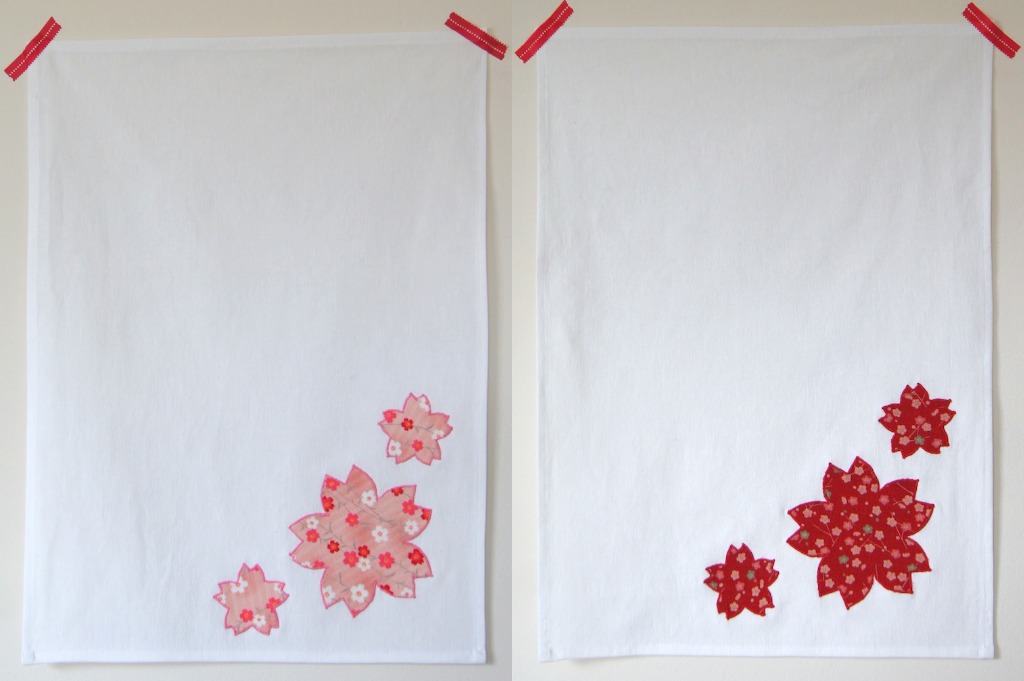
Variation Two: Cheery Cherry Blossom Tea Towels
Materials
- Fabric for appliqué – ensure it has been prewashed, dried and pressed (find similar cherry blossom fabric at Omiyage.ca)
- Thread to match appliqué fabric
- Heat’n’Bond Lite – or the iron-on adhesive of your choice, just make sure it’s a sewable one
- Iron
- You guessed it, tea towels!
1. Decide what design you’d like to use on your tea towel and create a template.
You probably want to stick to something small-ish and along the bottom of the towel. You’ll want to leave lots of plain towel for its actual purpose of drying stuff! Since we’ve been lacking a lot in the Spring department around here, I thought that bringing a little Spring into the kitchen might be nice – so I chose cherry blossoms. I used the shape of some kirigami cherry blossoms I had made to create my templates.
.
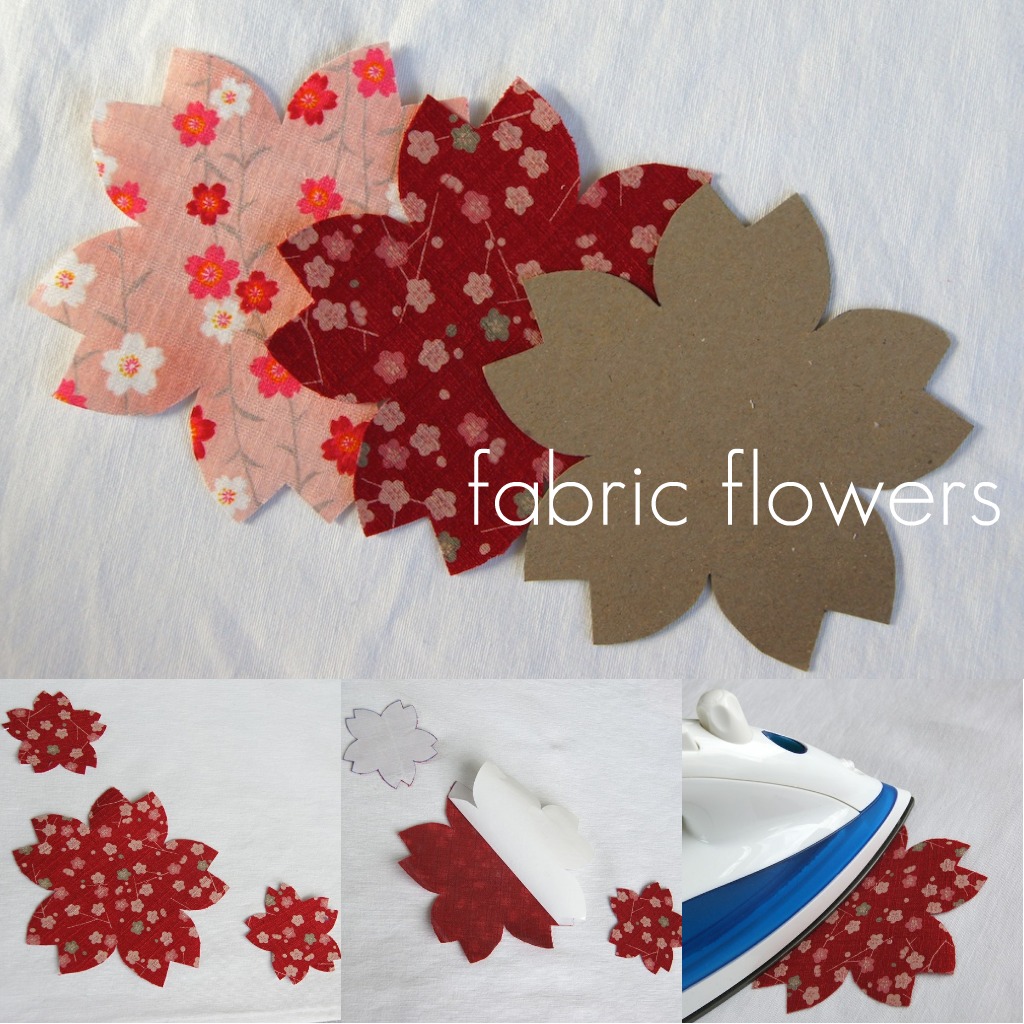
2. Follow the instructions on your iron-on adhesive to make your fabric appliqués. For Heat’n’Bond, you iron a piece of the adhesive onto the wrong side of the fabric and then allow to cool. When cool, trace around your template onto the paper backing and cut out.
.
3. Arrange the fabric pieces on your tea towel. When you’re happy with the layout, peel the paper backing off of the fabric appliqués and press with iron to adhere. For best results, follow the directions that come with your iron-on adhesive.
.
.
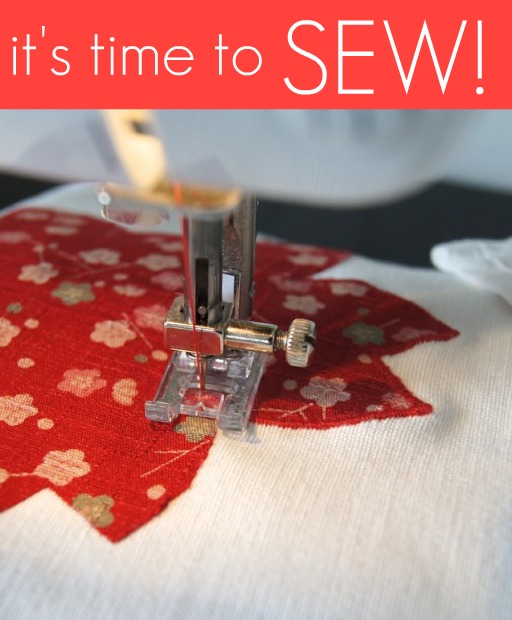
4. To stop the fabric appliques from fraying, you need to stitch around the edges using a satin stitch. If you’re like me, you don’t have a satin stitch on your sewing machine so you need to experiment with the zigzag stitch until you create one. Adjust the stitch length and width until you are satisfied with the stitch. For my machine, stitch 4 in the image above was the best choice.
.
.
.
5. Stitch around the edges of your appliqué. The goal here is to encase the raw edges inside the satin stitch. Start in a corner – and, unless you’re a glutton for punishment like me, you might want to try a simple shape, like a square, before tackling something complicated like a cherry blossom. I found that I had the most success when sewing fairly quickly while feeding the fabric through slowly – this ensured that my stitches were close together.
..
6. Admire your handiwork!
..
Of course, for me, the joy of this project is that really the sky’s the limit. You could try all sorts of different techniques to customize your tea towels. As I said, they are like a blank canvas for you to experiment on. So, this Spring, why not try something new? Freezer paper stencilling, embroidery, freehand machine embroidery, stencilling…
How will you be customizing your tea towels?


