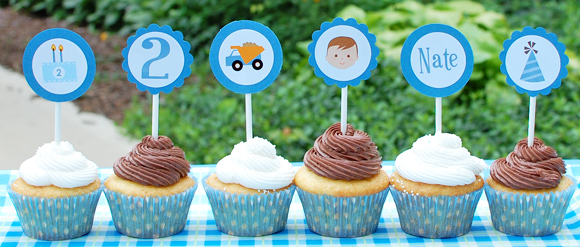
by Sara Tams of sarah + abraham

I recently began offering cupcake toppers, a new product that I’d been thinking about for quite a while but couldn’t quite figure out what materials to use and the best way to assemble them. I’m so grateful to Stacy at InkSpot Workshop for answering all my questions along the way. I love how they turned out!
I decided to take some pictures of the process so that I could share it with OMHG readers. The pictures below are slightly different than what I finally ended up offering (stickers on card stock circles), but the process is pretty much the same.

1. Print your design on card stock paper and cut the sheet into 2.125″ strips.
2. For a scalloped edge, I like to use the Fiskars Scalloped Squeeze Punch.
3. For a straight edge, I like the Fiskars Large Circle Punch.

4. Apply a line of Elmer’s School Glue (or a similar glue) from the middle to the bottom of each circle.
5. Set the top of each lollipop stick into the glue and press it into place.
6. Allow the glue to dry completely. For one-sided cupcake toppers, that’s it – you’re done!

7. For two-sided toppers, apply glue to the lollipop stick.
8. Place another card stock circle onto the glue.
9. For toppers with a scalloped edge, you may need to adjust the second circle slightly to get the scalloped borders to line up with each other. Once it’s in place, allow the glue to dry completely.

