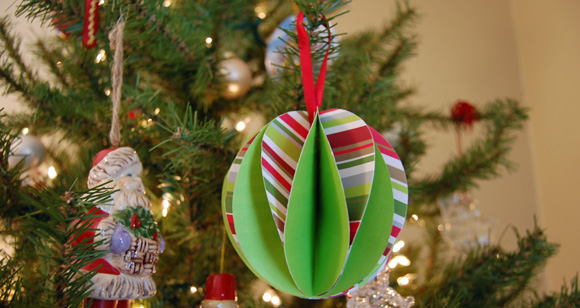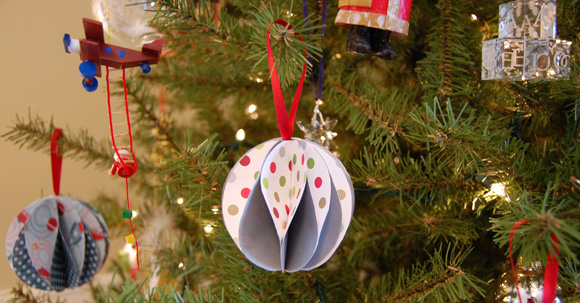
Almost every time I try to be crafty, the end result is nothing like I imagined it would be, and the whole thing ends up in the garbage. But a couple of years ago I came across directions for making paper ball ornaments on DesignSponge, and I couldn’t believe how easy it was and how nicely they turned out!

My kids helped me pick out scrapbook papers to use, and they looked great on our Christmas tree. When we were unpacking ornaments last year and I came across them, I was amazed all over again that I actually did something crafty that turned out so well.

If you’ve been following my sarah + abraham blog, you may have already heard me sing the praises of these ornaments, but for anyone who hasn’t seen them before, I thought the project was worth sharing again.
Step-by-step directions are available at Design Sponge. I just have few tips of my own to add…
- I used 12″ x 12″ scrapbooking paper from Archiver’s, and I think something a little thinner would have worked better. But you’ll definitely want paper that has a design on both the front and back.
- While I was at Archiver’s I used their 3″ and 4″ circle punches to cut out the circles – much easier than cutting out each circle with scissors! And I really like both of those sizes.
- I tried using mini glue dots, but because of the thickness of the paper, they didn’t hold the paper together. So I bought 1/2″ glue dots, and those worked perfectly.
- Before stapling the circles together I folded a ribbon in half and placed it on top of the crease, stapling it along with the circles in the middle and at the top.
If you know of any similarly hard-to-mess-up Christmas crafts, I’d love to hear about them!

