by Debra Norton of Vintage Paper Parade
There really is a great sense of satisfaction gleaned from a good de-clutter.
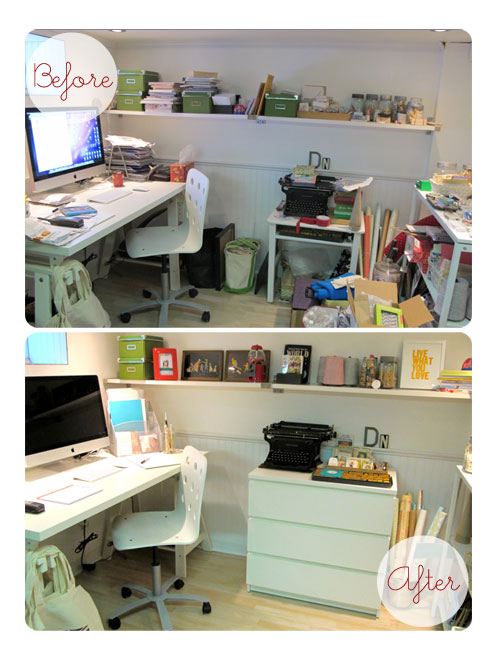
My studio had become a bit, shall we say, chaotic of late. Even my 9- year old daughter had offered to help get me organized.
The space was lovingly carved out of a corner of our basement last spring by my hubby and my Dad. When I finally “moved in” to my new space, I was a bit unmotivated to get it properly organized. My focus had shifted away from my business and towards spending time with my mother, who was battling breast cancer.
Slowly the clutter seemed to creep into my tiny 6×8 ft space…
Organizational experts will say that certain areas of a house become a hotspot of clutter and that there are often emotional reasons why you just can’t seem to get to it. My studio had become that spot. Underneath some of the piles of stuff that needed to be sorted, organized and purged were several items that needed to be archived. These items were connected to my mom and it was difficult to put them away.
Business is good and I’m involved in a variety of creative projects that require their own spaces. So I needed a plan and I needed one quickly.
Here is my 5 step de-clutter plan that helped me “make-over” my studio space into an organized, efficient and happy space.
Step 1: Motivation
There is nothing like a commitment to do a “before & after” article to get you motivated!
Determine what will get you motivated and how you envision your space. My vision is for my studio to not only be functional and tidy but cozy and full of the things I love.
Step 2: Organize
You need a plan to efficiently de-clutter your space and keep it that way. Get yourself some bags, boxes or bins and label them. I used: stay, garbage, recycle, and archive. Think about what you have and what you need. Maybe you can donate some of your items to a thrift shop.
Step 3: Space Plan & Prioritize
How do you use your space? What items do you need to stay in your space for day-to-day use: computer, packaging supplies, paper goods? Do you need to have special zones dedicated to tasks: assembling, packaging, shipping? Make a list of these items or tasks to help you plan for your next step.
Ask yourself what items are you willing to do without in order to make your space more efficient? What items have to stay for less than practical reasons? For instance, I have a collection of Martha Stewart Living magazines dating back to 1996 – yes, I really do. I know it takes up a lot of space but I cannot part with them. I refer to them often for inspiration. I insist they stay and so they have a dedicated bookcase. They are organized by month and then by year. I know, a bit obsessive but that’s another topic.
Step 4: Storage Solutions
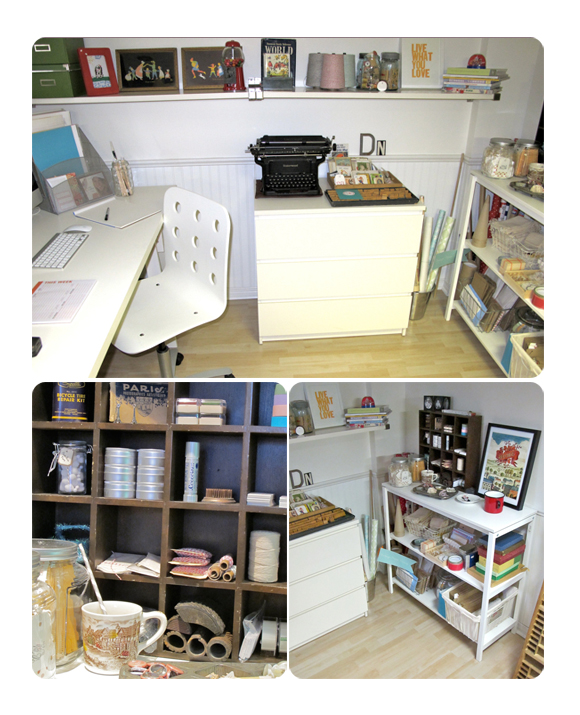
Divide your space into zones. My zones are: desk, paper storage and display.
My space is quite small so I don’t have the luxury of having distinct spaces for my tasks. It has to multi-task.
I use my desk to sketch out new designs, plan and communicate. It houses my new Mac computer (which I love!) and other small office/art supplies. My chair, from Ikea, is on wheels and I use them! It allows me spin around to pick up my packaging supplies and ship out an order.
I store my paper and packaging supplies in an Ikea Malm dresser I picked up for a steal in the as-is section. It was less expensive than buying dedicated office furniture but provided the storage space I needed.
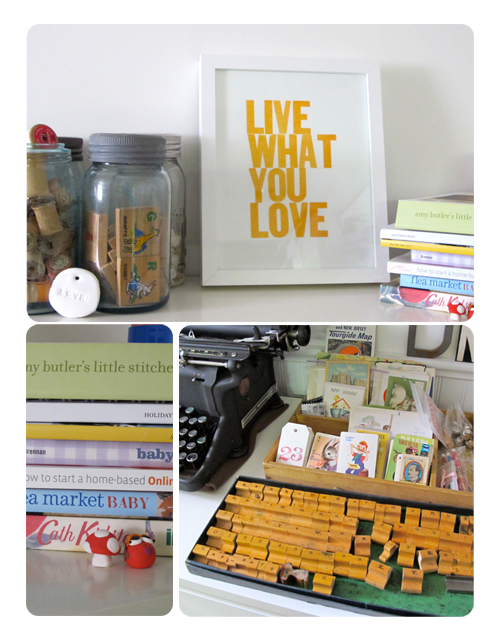
Display space is important for me for two reasons. I spend a lot of time in my little space and I want it to be comfortable. Second, I’m a visual person and so I like having things that inspire me to be visible and accessible. An open shelving unit stores craft and art supplies, vintage books and cards that I collect, as well as some utilitarian items such as shipping supplies.
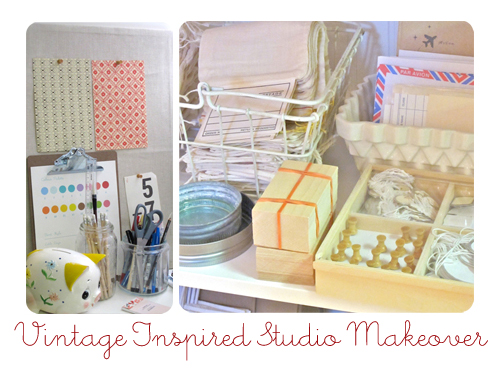
I love vintage boxes, bins, cubbies and mason jars. They make great storage pieces for a workspace. I’ve incorporated some of them into my office but I have a few more stashed away and ready to use. I find vintage storage pieces hard to resist at a thrift shop, yard sale or antique market. I use them throughout my home to organize and display treasures.
Step 5: Come up with a plan to keep it this way.
I’m still working on this one. I think it might help to go back to step one where you thought about your motivation. Think about where your clutter hot spot tends to be. For many people it is the desk. Mine is the floor. That’s where I have extra space.
Now when I come downstairs to my studio, I feel a sense of calm. It makes me happy. However, it is still a work in progress. I need to inject more colour and utilize the vertical space more efficiently.
Have I come up with a plan keep it this way? No, I’m just focusing on the sense of inner peace that has emerged since the de-clutter. So my plan for now is “if it comes in the door, don’t let it touch the floor!” I’ll let you know how that works.
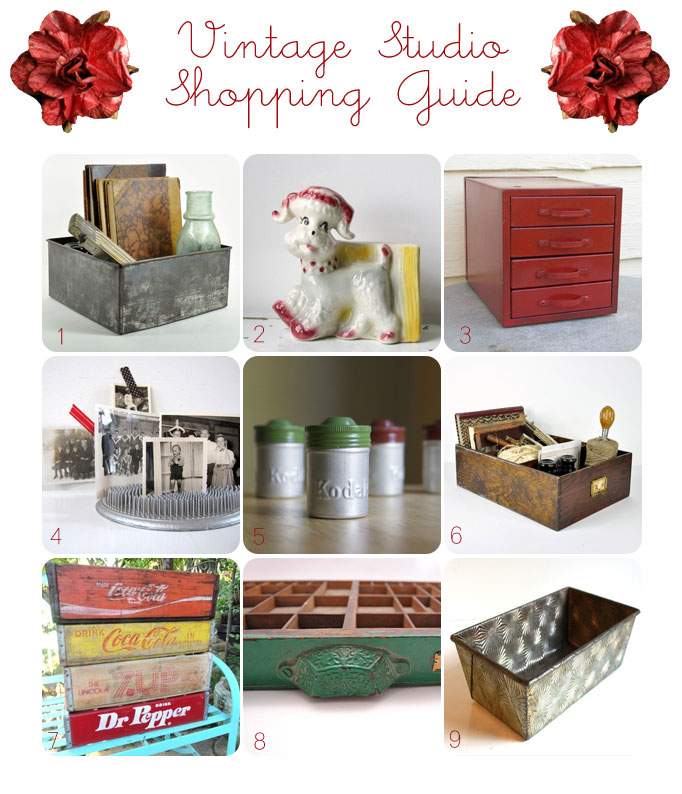
If you are feeling the urge to organize here are some vintage finds to inspire you:
- old metal baking tin from havenvintage.etsy.com
- vintage ceramic poodle planter from impulseart.etsy.com makes a whimsical container for pens, pencils etc
- red industrial metal chest from fishbones1.etsy.com use to store paper and stationery
- vintage metal flower frog from frenchbydesign.etsy.com great to display
- metal film canisters from falconandfinch.etsy.com
- industrial wood drawer from havenvintage.etsy.com
- vintage soda crates from bluebonnetfields.etsy.com make fun cubbies to display treasures or prettier supplies
- antique printers drawer from sarahanntiques.etsy.com to store small supplies that you want to remain visible and easy to reach
- vintage bread pan from jaanasvintage.etsy.com for art supply storage
Debra Norton designs stationery and paper goods for her business Vintage Paper Parade. She loves hunting for vintage treasures, sharing her love of handmade and producing and styling events to share via her blog.

