a super special guest post by Gaia Cornwall
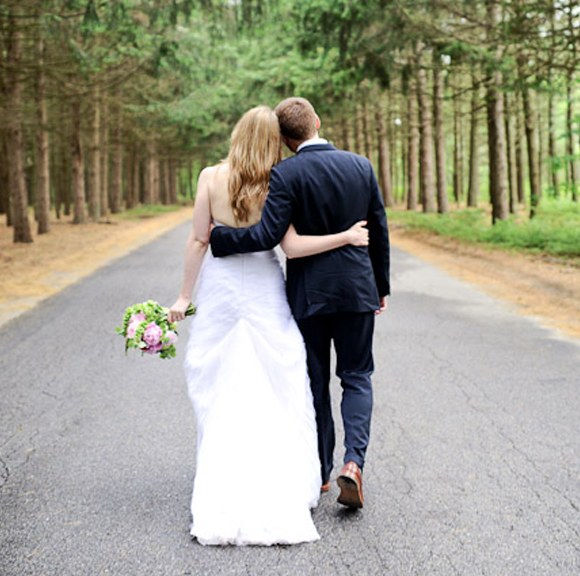
To finish off the month of celebrations, Jessika asked me to write about our wedding! My husband, Gerald, and I got married last month and one guest described our wedding as “the ultimate kid’s birthday party.” We took it as a huge compliment, as we were aiming for a thoroughly fun and fabulous time. If you have any celebratory events coming up involving children, hopefully a few of these ideas will set you on your way, and the photos will provide lots of inspiration!
Come Up With A “Theme”
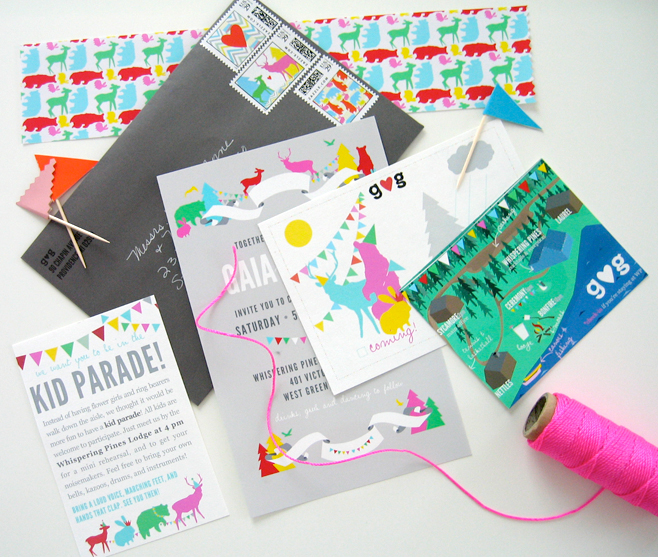
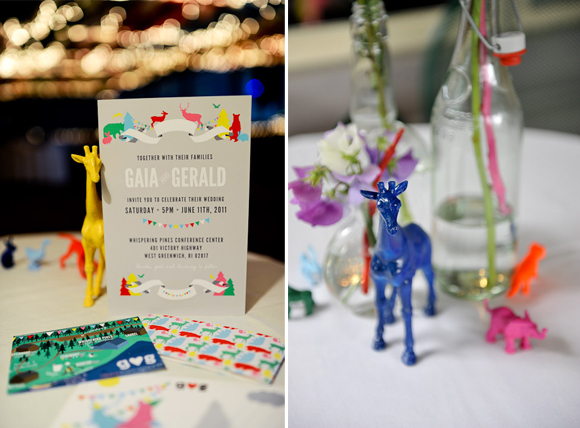
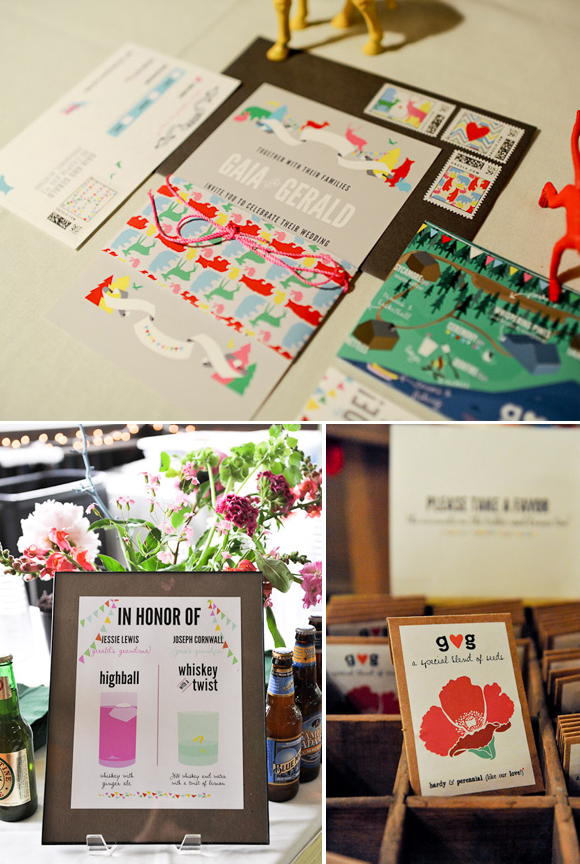
When people (aka Our Moms) asked what our theme was, we stammered something about animals and bright colors. I don’t think we were comfortable with the notion of a “theme,” but we knew what we wanted. We carried animal silhouettes, and bright saturated colors, from our invitations, to our website, right through to the actual day. Don’t worry if “people” (ahem) think it’s crazy, if you stay consistent to your main idea, –whether it’s pale pinks and roses, or not— it will make the event feel that much more cohesive. Plus having some constraints makes decision-making down the line that much easier.
Make Some Decorations
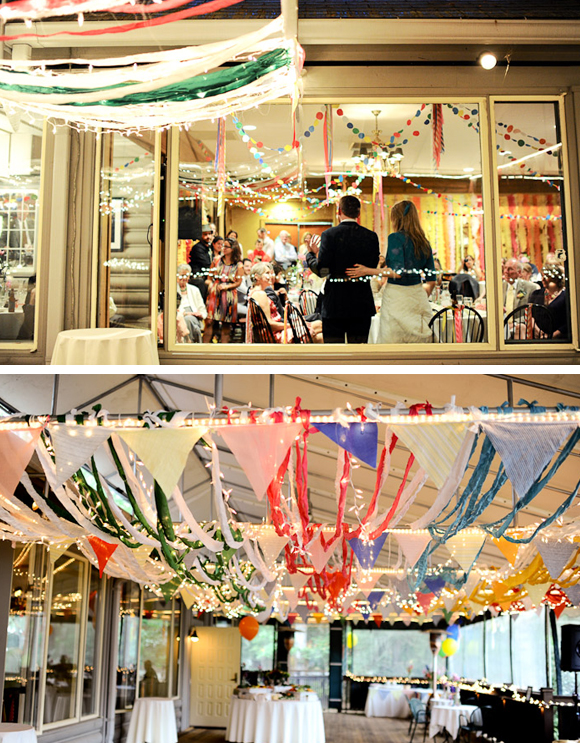
That said, we basically decided on our decorations based on what would be the most fun to make. We spent a lot of time pawing through eye-candy online. I had never visited a wedding blog before this, but I’ll definitely keep looking at them in the future for inspiration. They are some of the most creative online spaces! (If you feel like you’re in a visual rut, I encourage you to take a look.)
Anyways, collect your ideas (Pinterest was perfect for this!) make a list, come up with a plan, buy your supplies and recruit some friends to help out! Start early. And if you want yards and yards of these circle pennants, it helps to have an incredibly kind and patient mother willing to make them for you.
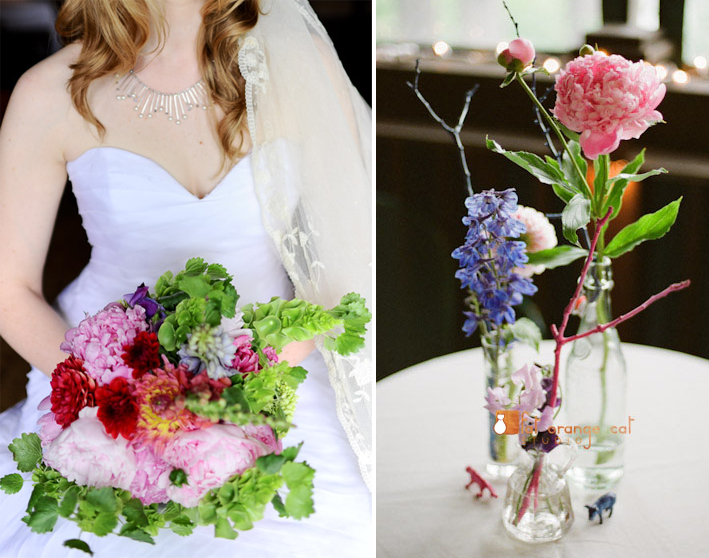
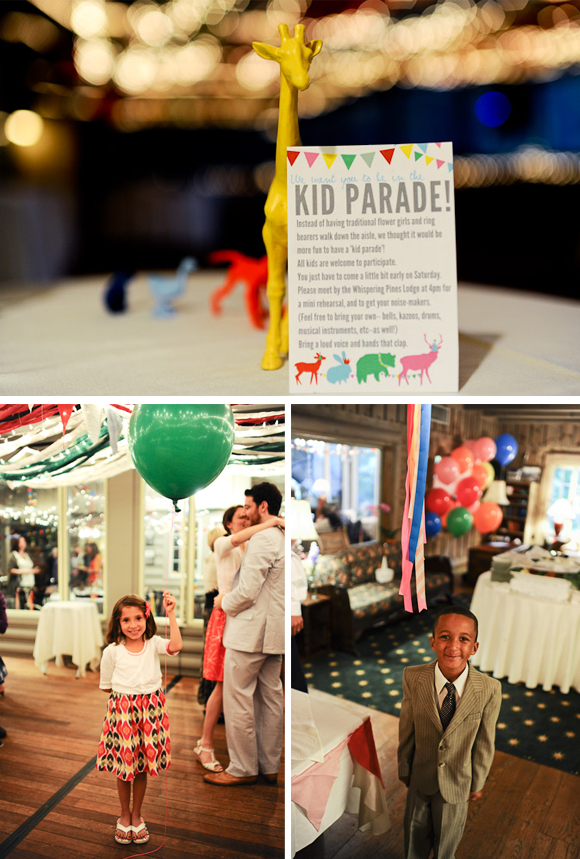
For the centerpieces, and flowers in general, I was really aware of not blowing our budget, so instead of huge arrangements at each table, we placed just a few flowers, along with painted branches, in three glass bottles of varying heights. We bought the flowers from a farm the day before and had our friends help divide them up. Brightly colored, painted animal figurines roamed around them. It felt modern and fun. My mother in law made the boutineers, and I made my bouquet mostly from flowers from my mother’s garden.
Get Your Invitations Ready
We designed our invitation suite, favor labels, and day-of signage together, incorporating the various elements mentioned above. A big splurge was custom postage stamps, with our patterns on them, which ended up being really fun. The initial invitation design decisions happily informed all the other signs we made later on. In lieu of menus, we printed a poster listing all the different food options (and addressed the several dietary concerns of our guests.) The favors were seed packets filled with a mix of perennial seeds Gerald (the gardener in this partnership) picked out. Our “guestbook” was a poster that everyone signed. We can’t wait to hang it up in our apartment.
Include The Kids
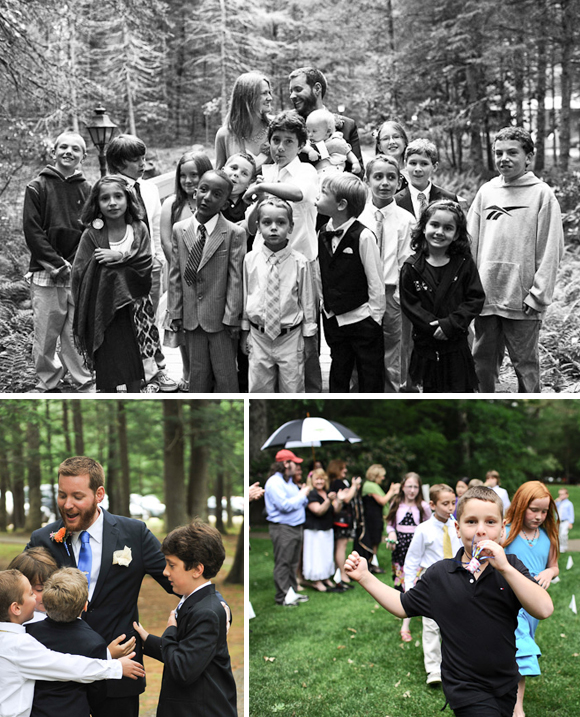
From the beginning it was apparent that we had too many flower girl options. So we decided to have a “Kid Parade” instead and invited all of the kids coming to participate. They had a short rehearsal before the ceremony, but honestly we didn’t know what to expect. We thought probably most of them would get nervous and end up sitting it out. We couldn’t have been more wrong! They all took their job very seriously and it was truly wonderful to be marched down the aisle by them.
I think asking a few of the older kids to be “helpers” was key. They were happy to “help” the little kids get their acts together, and the little kids were thrilled to do something with the “cool, older kid” crowd. Only our friend’s son insisted on being the “Flower Girl”– he was actually the first to call dibs on throwing flowers. So he proudly did just that instead of playing an instrument. It was awesome.
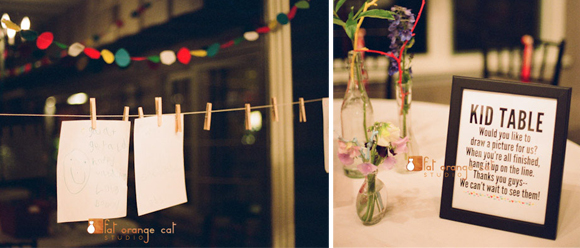
We both have fond memories of sitting at kid tables at family functions growing up, and everyone knows that dinners can feel like they last forever when you’re little. So we were sure to create a designated kid’s table stocked with goodies. Besides silly little toys (I believe a whoopie cushion was included,) we set out paper with crayons and hung a line with clothespins asking them to make some drawings for us. It was really sweet to look at them all hanging there later.
Create A Yummy Menu
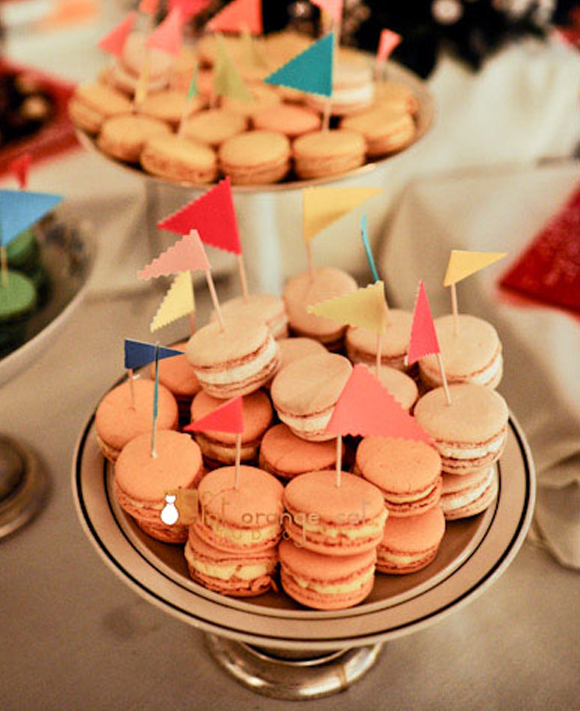
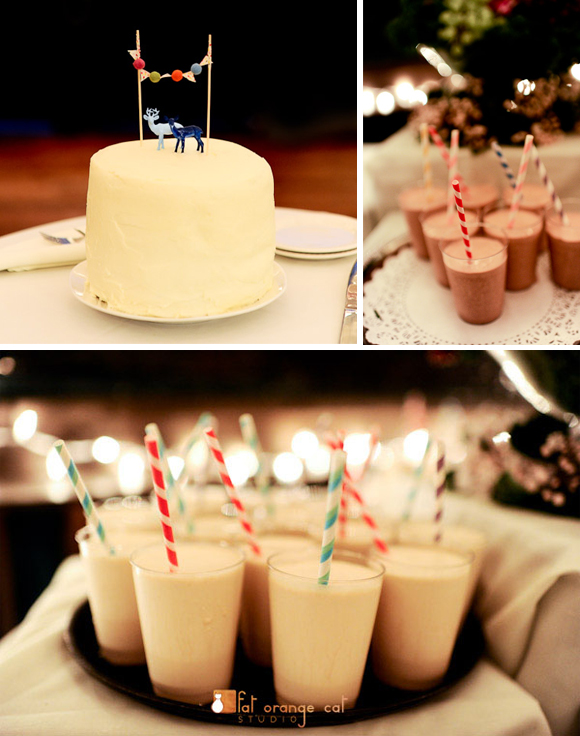
One way to not split the menu into adult and kid versions, is to do comfort food, but dressed up. Think simple, but with good ingredients. We served macaroni and cheese, but with gruyere. The french fries, sweet and yellow, were hand cut, with a spread of dips to try. The mini burgers were made with fancy beef, and ground that day. The veggies were local and grilled. The cabinets ( basically a RI milkshake) could be spiked. Neither group seemed any the wiser and both cleaned their plates. Also: tiny flag toppers and striped straws charm everyone.
I think many of the other celebration posts provided tutorials or tips on all the decorations we made. But please ask if you have any questions. A huge thank you to Li of Fat Orange Cat Studios for taking the gorgeous photographs! Gosh, after a whole month of fabulous party posts, all the OMHG readers are going to be throwing some out-of-control bashes. Can’t wait to see the pictures!

