I love the holidays, it means I get to create a new set of handmade book ornaments to don my Christmas tree. These are perfect for gift giving, too—my Mom hits me up every year for ones with shimmer papers and music sheets—and they are very easy to make. How easy? This was the first kind of book that I learned while studying Book Arts.
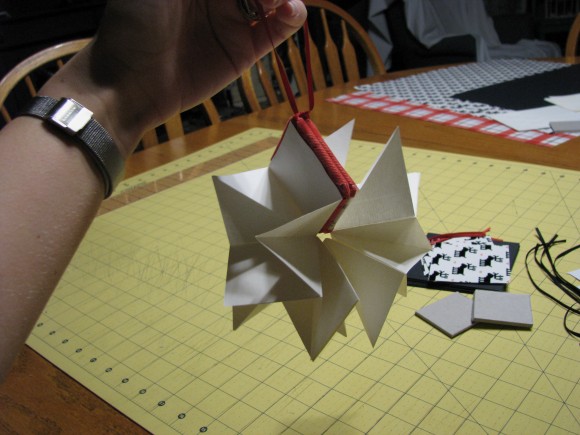
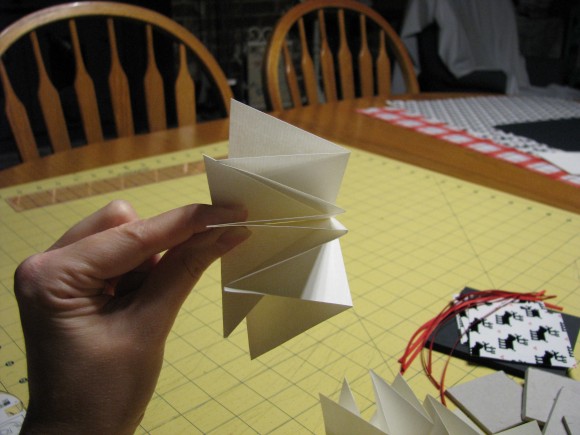
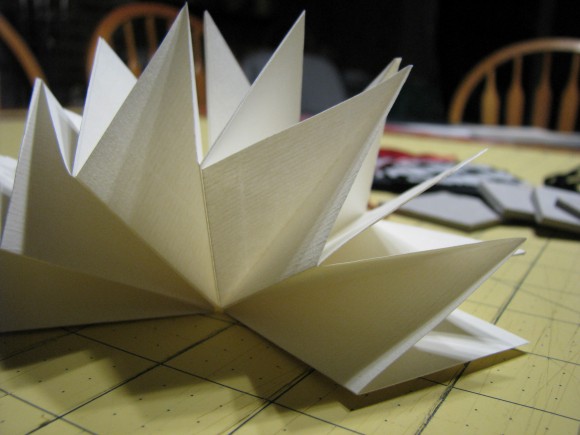
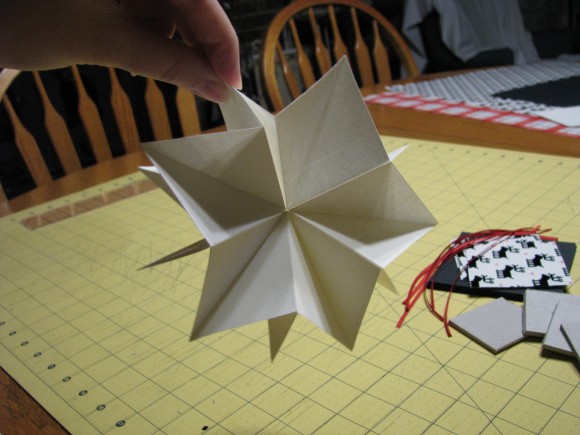
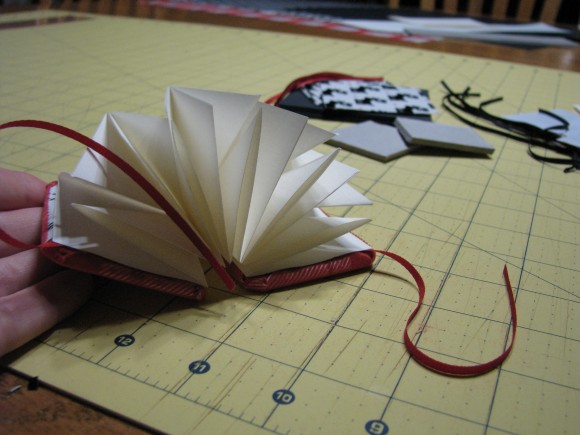
This binding technique has many names: Chinese Star, Lotus, Origami, and so on but I always took a liking to “Lotus Book” because when you adhere the folded pages together, all facing the same way, it will open up like a Lotus flower.
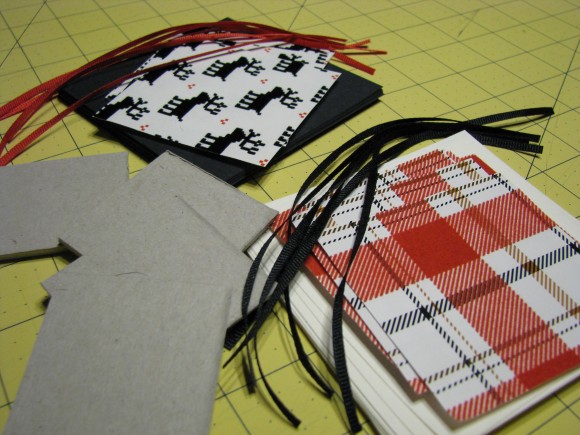
MATERIALS
I know most won’t have a bookbinding supply store near them so I made this tutorial using materials almost everyone will have in their home:
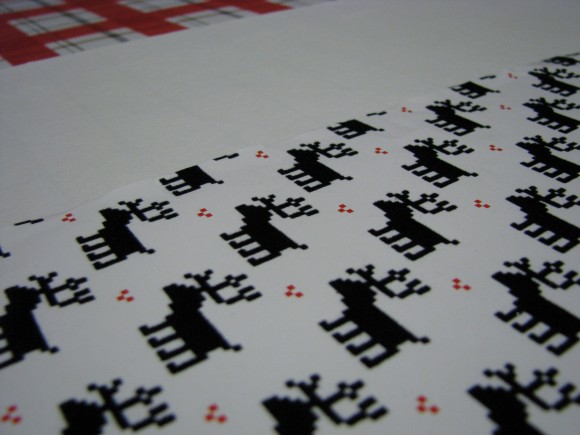
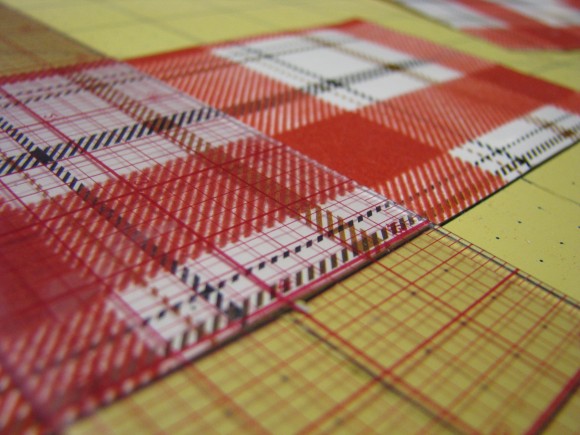
- decorative, cover-weight papers for the covers
- solid colored, text-weight papers for the inside pages
- 1/8″ thick bookboard
- a roll of 1/16″ ribbon
- permanent double-sided tape
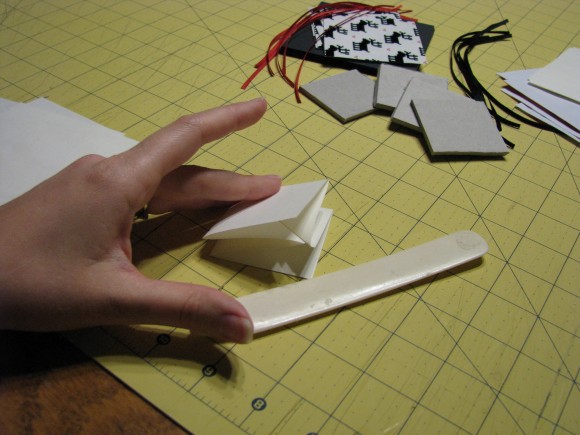
- bone folder
- 3″ wide clear acrylic ruler
- exacto knife
CUTTING
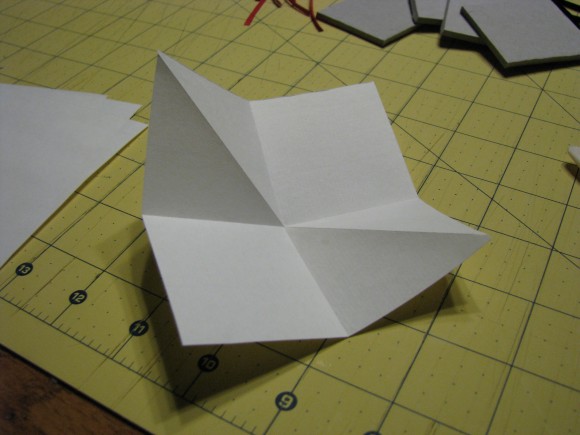
FOLDING
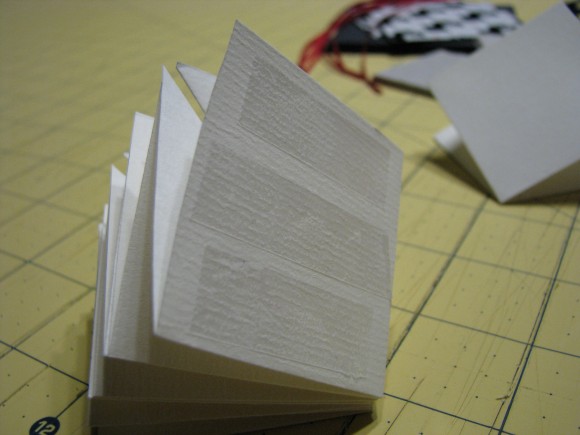
ADHERING THE PAGES
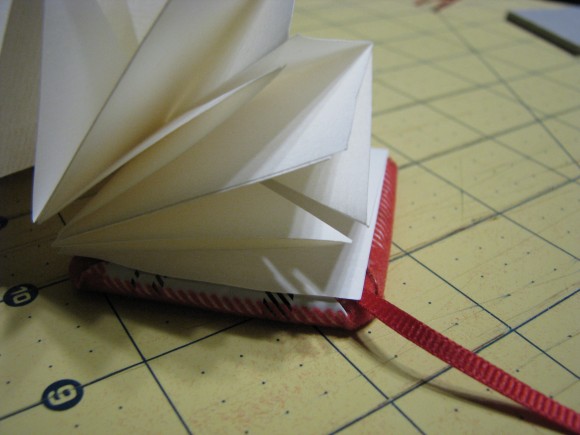
ADHERING THE COVERS + RIBBON TIES
Take your boards and place in the center of your cover papers. Add 3 strips to the board and flip over the board over onto the wrong side of the cover paper so it’s snug in place. You don’t want the covers to have bubbles so I adhere them before moving on to adhering the flaps of the cover paper. Once finished, add 3 more strips of double-sided tape to the other side of the bookboard, the side that is the “inside” of the covers, soon to be adhered to the pages. This is to get you ready for the next step of folding over the corners and side flaps of the paper so make sure that you are placing the tape close to the edges.
Now that your boards are in place, I like to use what we call “library corners” to wrap the flaps of the cover papers up and over the edges of my bookboard. Library corners are the most sturdy and will never show the board beneath, so they naturally became my favorite method. To start, take the corners of the cover papers, one at a time, and fold over the point of the corner. You’ll make a 45 degree motion when you do, allowing all the points of the paper to be pointing towards the center area of the board. Next, wrap up and over the side flaps.
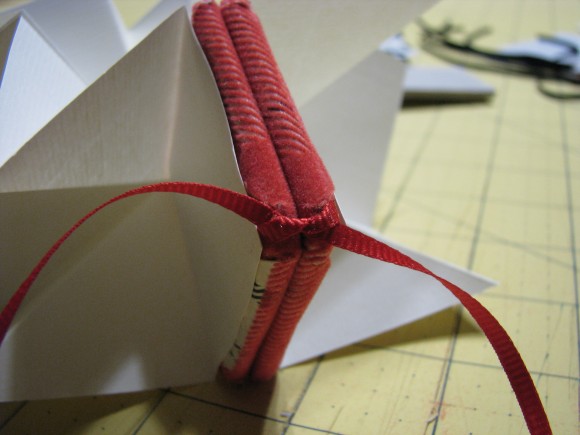
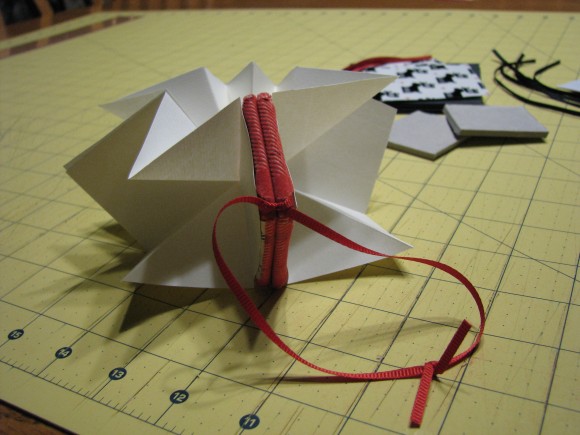
Take the end of your ribbon tie and place it down on a corner. Adhere the ribbon in place with tape, making sure that 1″ of the ribbon is at least being anchored down so it won’t come back out. Repeat for the other cover. If you place the ribbon in the middle of a side edge, you will not be able to open and tie back your book properly, it must be on a corner.
CASING YOUR PAGES INTO THE COVERS

USING YOUR ORNAMENT