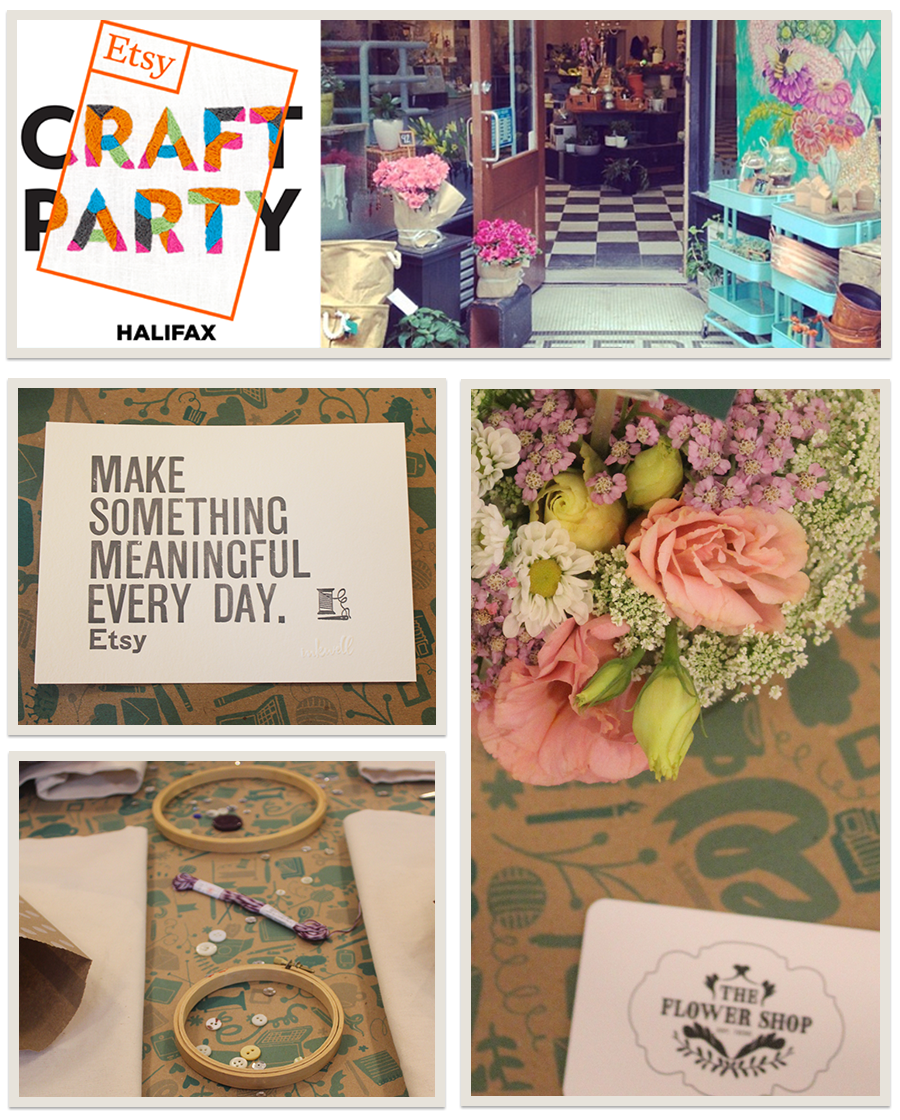
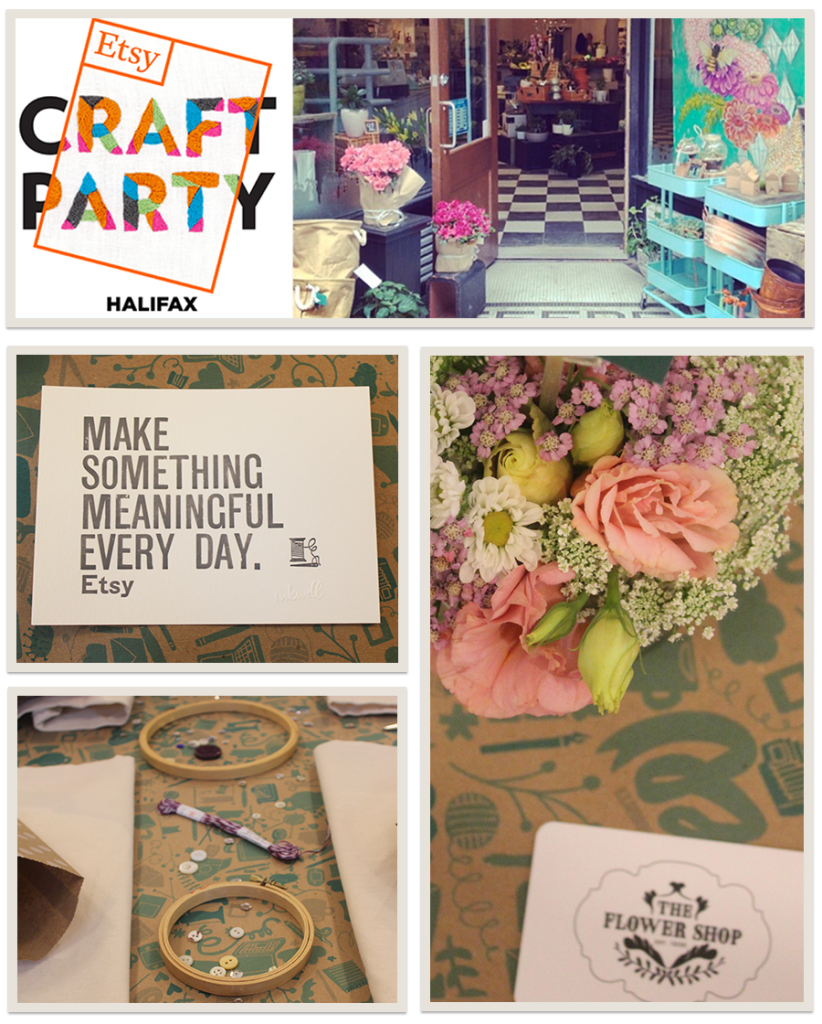
On June 6th makers around the world gathered to celebrate craft and community for the annual Etsy Craft Party, OMHG included! I teamed up with Bryanna Chapeski & Etsy Canada to host Halifax’s first official craft party in a gorgeous downtown flower shop. With the help of our friends the event was an awesome success with a full house of happy crafters all having fun learning a new skill!
Thank you to the fabulous folks who made the Craft Party possible:
- Etsy Canada (especially Nada & Erin!) for making this free event possible
- Bryanna Chapeski for being a gracious and talented co-host
- The Flower Shop for providing the most gorgeous space & flowers
- The Loop for donating gift bags for door prizes & all sorts of wonderful thread + buttons
- Inkwell Boutique for beautiful “Make Something Meaningful Every Day” letterpress prints (above)+ goodie bags for each crafter
- Halifax Cookie Cravings for supplying ridiculously delicious cookies delivered by bike!
- Print Therapy for sending her Love Notes to include with each bag
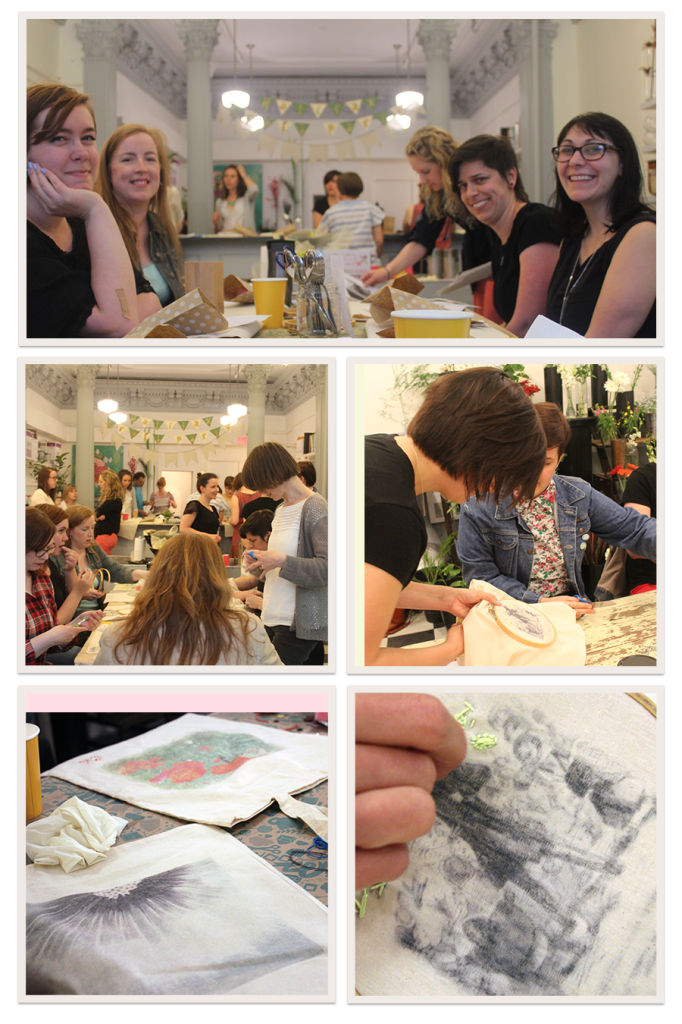
The theme of this year’s craft party was “Recapture: Bring New Meaning to Your Photographs” so Bryanna taught us all how to transfer our images to tote bags using photocopies, wintergreen oil and a spoon. The ingredients are simple but the results were awesome! I loved seeing how creative and different each tote was from Monet’s garden (below top left), to childhood pictures (top right), a Halloween photo (bottom right) and so many other brilliant creations. Our craft party is over for now but I thought it would be fun to share how you can make your own photo transfer tote thanks to Bryanna’s mad teaching skills!

Make Your Own DIY Photo Transfer Tote
What you will need:
- A few high contrast photocopies of your picture*
- A canvas tote bag
- Wintergreen oil (you can also use Tea Tree Oil, Citrus Oil or Acetone)**
- A sponge
- A spoon
- Gloves
- Masking tape
- Optional: Embroidery floss, needle, buttons etc…
- For best results: make with friends
To transfer your image onto the tote:
- Turn the picture face down on your work surface
- Dip your sponge in Wintergreen oil & lightly paint the backside of the image until you see the picture coming through. Be careful not to use too much oil or your image will be blurry, you can add more oil if needed.
- Place the image face down on your tote and tape in place with masking tape. Try a few test transfers onto a blank sheet of paper to get a feel for the process before trying on your tote!
- Using the backside of your spoon rub the backside of the picture while applying pressure.
- Keep burnishing the back of the image until it is fully transferred to the tote-the longer you rub the picture the sharper your transfer will be.
- Remove the image & ta-dah you are done!
- Layer more photos to create a collage or add embroidery, buttons & notions.
- You can also use this technique on paper, wood, and art canvas-what will you make?
*Use a fresh photocopy from a photocopier for the sharpest transfer!
**Wintergreen Oil, Tea Tree Oil & Acetone are all smelly & can be toxic if misused, be sure to use in a well ventilated area away from small children and read the labels carefully.
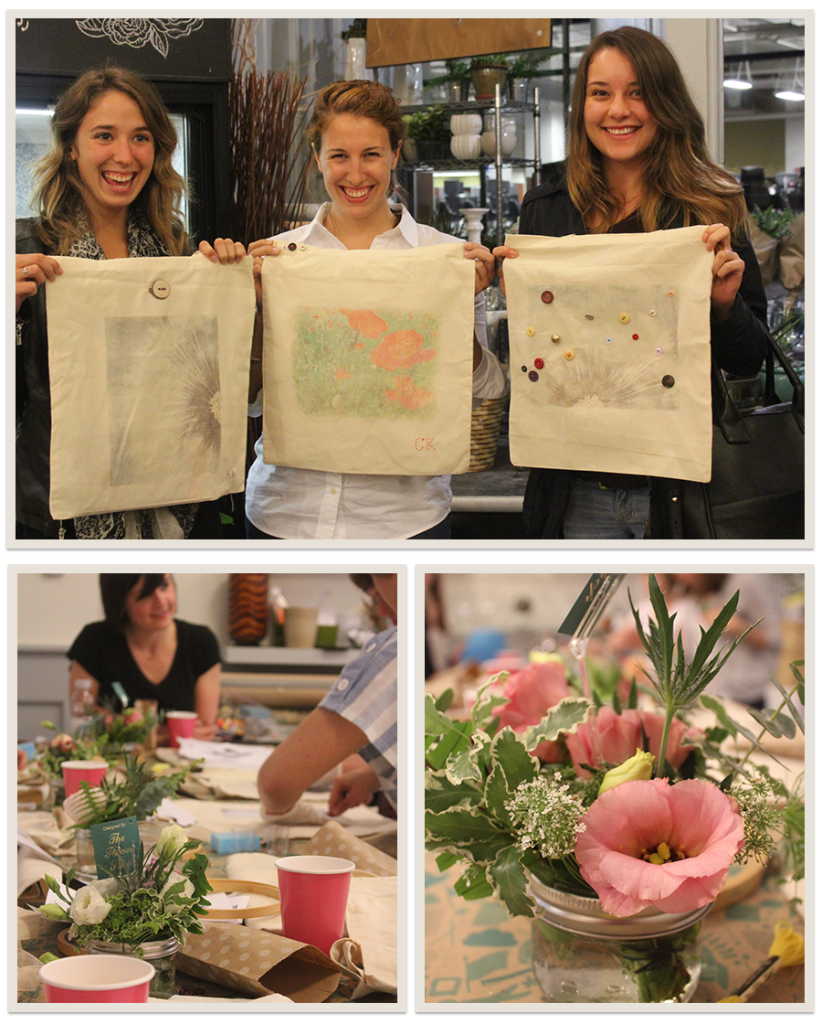
I hope you are inspired to try out the tutorial or be adventurous and host a craft party in your own community this summer! Getting crafty is fun but making new creative friends to share it with? Best thing ever.
If you want to check out all the photos I took of our event when not talking to every one I could, visit the whole gallery over on Flickr here.
Have you ever been to or hosted an Etsy Craft Party? Tell us about it in the comments!

