I don’t typically get along with kitchen appliances. So I’d like to preface this recipe: if I can do, anyone can.

What you’ll need: unlicked lollipops and other hard candies, a meat mallet or hammer, baking pan covered with foil, cookie cutter shapes (I improvised, using the circle from my bunt pan), and lollipop sticks, sprinkle toppings optional
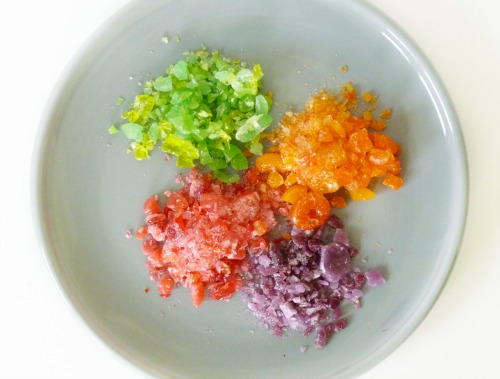
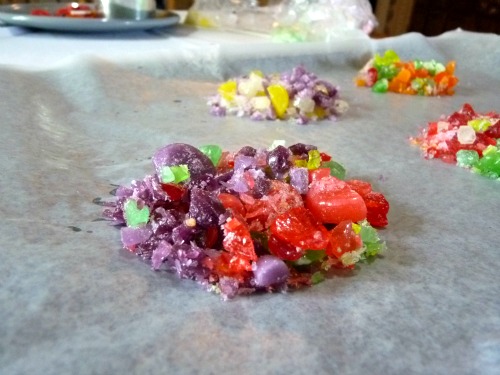
1. Unwrap and sort candy by color (we used dum-dums, jolly ranchers, and lifesavers)
2. Smash the heck out of them with a hammer of sorts
3. Using the cookie cutters to form shapes approximately 1/2″ inch thick (1cm) or appease your inner rebel and freestyle. Tip: Be sure to space the shapes 2 inches apart they’ll spread + you need room to add the sticks
4. Bake for 15 minutes at 250 degrees
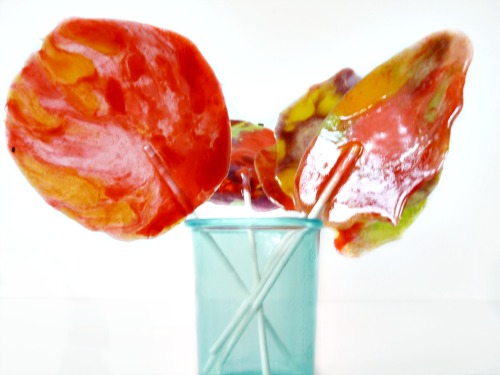
5. Remove from oven & attach the sticks quickly by carefully rolling in the end of candy. Add sprinkle toppings if your heart desires.
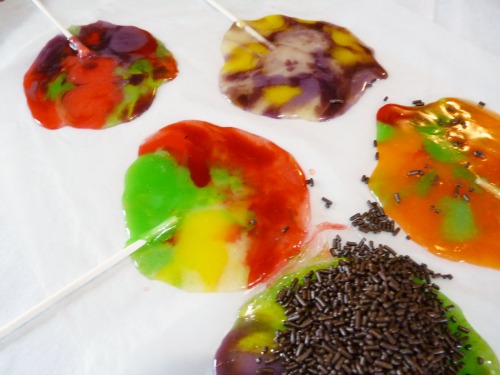
Allowing the lollipops to cool was the hardest part! We had a blast creating our custom candies and the possibilities are endless- recycle more often, your lollipops that is.