

All summer long we’ve been working towards turning off our electronics, getting back to nature, and earning our merits here at Camp #OMHG. Whether you’ needed the gentle reminder to shine with confidence, cultivate ambition, or you’re just here for the camp crafts– this experience has brought us back to basics and serves as a reminder to ourselves what community is all about: gathering around the campfire, sharing stories, capturing moments, and embarking on wild adventures.

Today’s adventure, encompasses all of the above- the tutorial for my Happy Camper Camera Strap encourages you to show off your freshly earned badges with pride (You deserve it!) Badges come in all shapes and sizes, you can find vintage lots, embroider your own, or choose submitted badges and convert them into iron on transfers. (Feel free to forgo the badges and use this pattern to create your own unique camera strap) Suit up for your next excursion, girl scout style.

To start out, choose 2 fabrics. My fabrics of are designed by Kimberly of Joyful Roots (did you see her Photoshop pattern tutorial yesterday?). The Retro Pinecone print is one of my all time favorites and is available in several additional colors, I paired it with Agave Weave Charcoal. You’ll also need to pick up some fusible fleece, to add a little structure and padding- I recommend Pellon Fusible One Sided Fleece.
You’ll need:
Fabric
Fusible Fleece
Scissors (or rotary cutter)
Ruler
Iron
Needle/Thread

Cut 1 piece, from the main fabric, that measures 2 1/2″ x 25 1/2″.
Cut 1 piece, from the second fabric, that measures 2 1/2″ x 25 1/2″.
Cut 1 piece, from the fusible fleece, that measures 2 1/2″ x 24 1/4″. (Tip: Cut your fusible fleece 1 1/4″ shorter than the fabrics.)

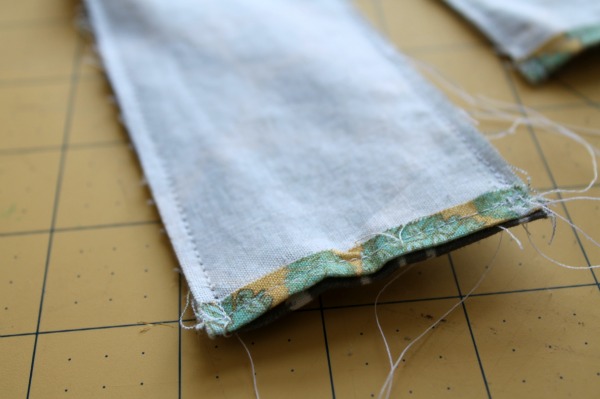
Fold the ends of the fabric pieces over 1/4 inch and press. Using a straight stitch sew the short ends.

Now its time to iron fusible fleece to main fabric. Lay the rough side of the fusible fleece onto the fabric. Iron the fabric, not the fleece, so you’ll need to flip the entire piece over once it’s centered. (Tip: Remember, you cut your fleece slightly shorter than the other pieces.)
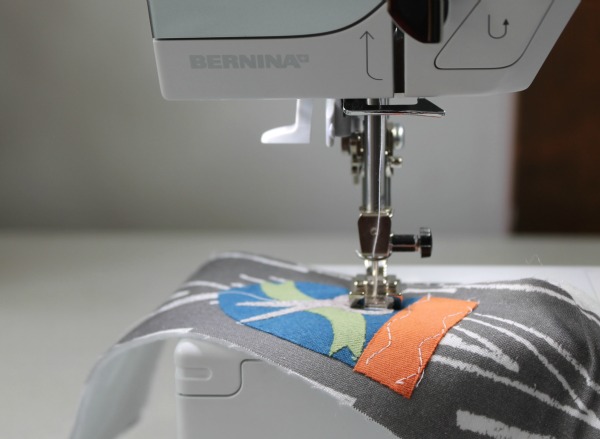
Attach any badges that need to be sewn. Tip: I designed my own badges using t-shirt scraps (you’re not surprised are you?) so they were flexible- any thick badges will need to be glued or hand stitched after your finished.
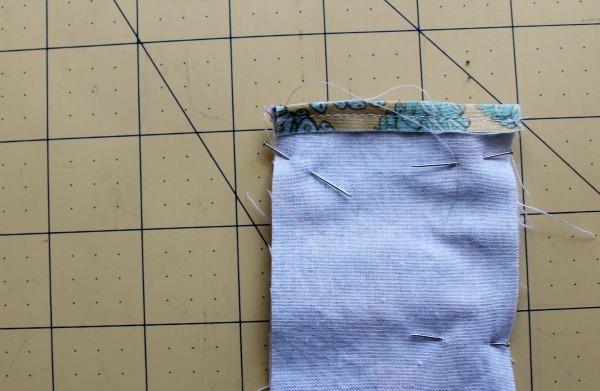
Now, you’re ready to pin and sew. Place the two pieces of camera straps ‘right’ sides together. ‘Right’ sides together means that the printed sides of each fabric are facing one another.
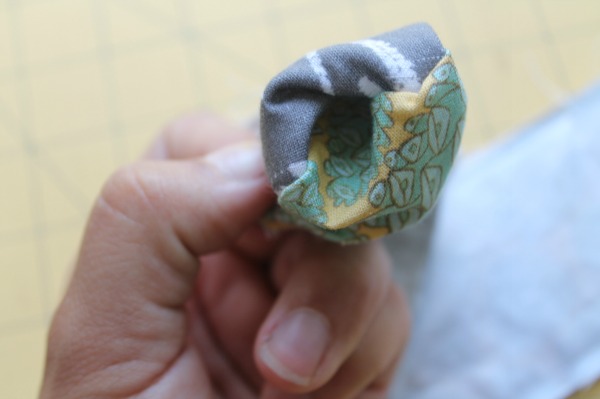
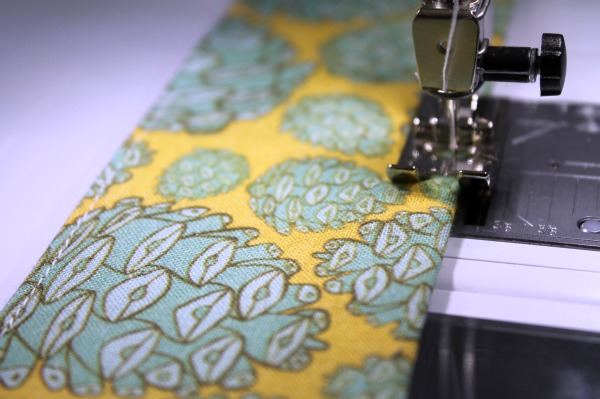
Once your strap is turned right side out, press it flat. I prefer a more finished look so I added a straight stitch down the length of the strap on both sides. Your finished product will slip over your current camera strap and can be removed for adding more badges or to switch up your camera strap whenever Kim designs more must-have fabrics. (I’ll let you in on a little secret- Kim and I are working on a fantastic collaboration right now and you’ll want to check the fabrics we’re debuting in September!)

I hope you’ll make you’re very own Happy Camper Camera Strap, this is absolutely the perfect project to take on if you’re short on time (it takes 15-30 minutes total!), short on fabric (it requires less than a 1/4 yard total!) or still a little bit intimidated by your sewing machine. (read: it can totally be done by hand too!) Essentially the project only requires 6-8 straight line stitches- why no try it out & earn yourself the Sew Something Badge.
Join me in the comments below, I’d love to gather round and share our favorite take aways from Camp #OMHG so far. I’m curious to find out what badges you’ve earned and if/how you’re wearing them proudly.
[…] cotton prints and embellished with handmade badges showing crafty skills you’ve mastered. Go to Oh My! Handmade for her […]