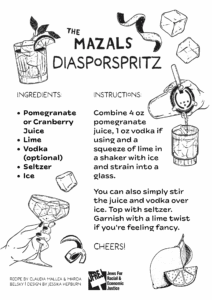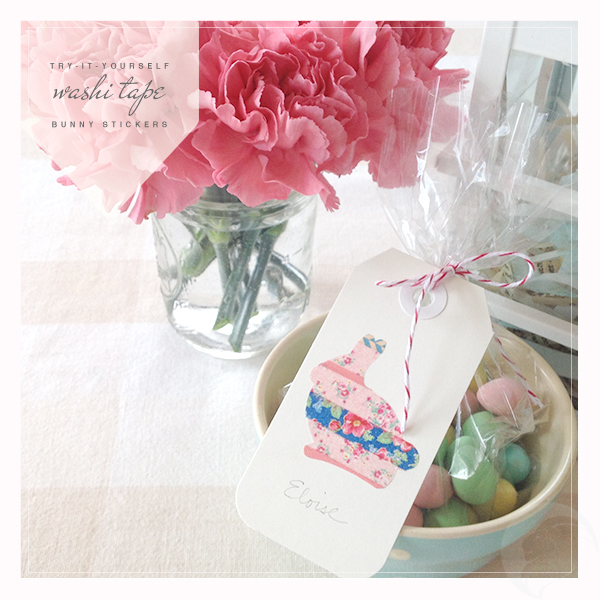
Spring has finally flung (at least where I'm from up here in southeastern Canada) and with it comes new growth, flourishing nature, nourishing sunshine, a surge of ideas... and chocolate! Of course, I'm talking about those wonderful little Mini Eggs from Cadbury. I can't get enough. So, when Marisa of Omiyage suggested a post about cute little stickers made from washi … [Read more...] about WASHI TAPE EASTER BUNNY STICKERS
DIY WATERCOLOUR HOLIDAY CARDS
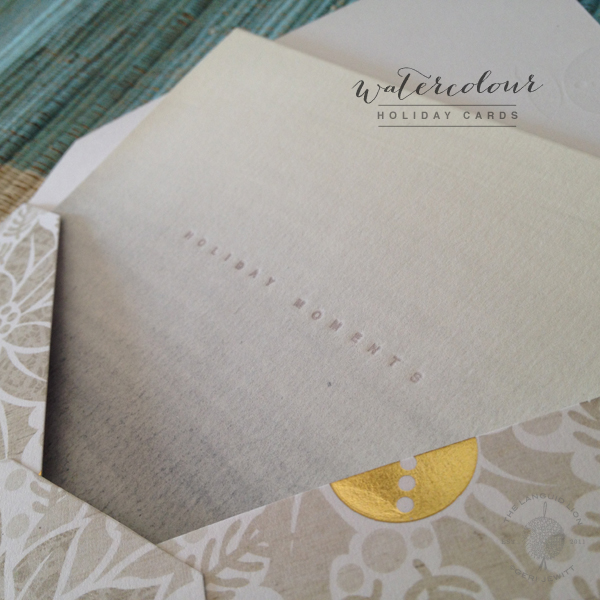
I’ve been making my own holiday cards for as long as I can remember; it started out as a creative outlet to the mass-produced alternative and has now become one of the things I enjoy most about the holiday season! I always tend to wait until the weather changes and it actually feels like the holidays before coming up with my designs; I just can’t seem to get into the … [Read more...] about DIY WATERCOLOUR HOLIDAY CARDS
Handmade Holiday Shop: CharlieBoy Press
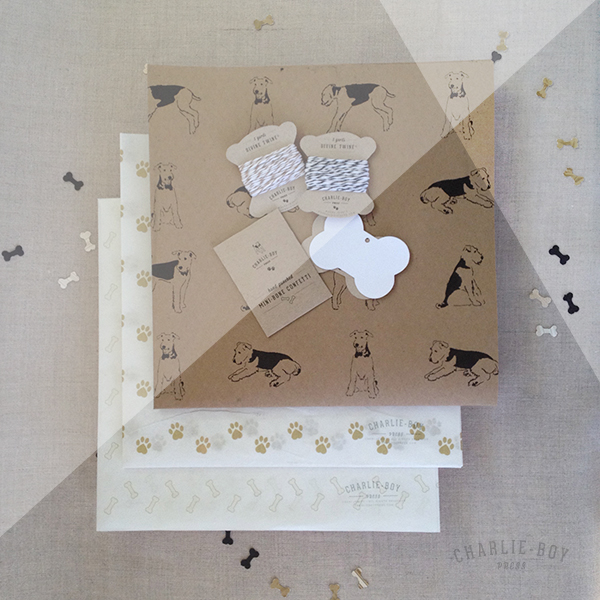
Hi! My name is Geri Jewitt and many of you may remember when I used to be fairly frequent visitor to these here parts... well, I've been off learning a new trade and streamlining my business to better serve you! I've recently refocused my Design Studio (The Languid Lion) to primarily focus on branding and design solutions for small businesses and I've been working long hours … [Read more...] about Handmade Holiday Shop: CharlieBoy Press
CAMP OMHG PRINTABLE PARTY PACK
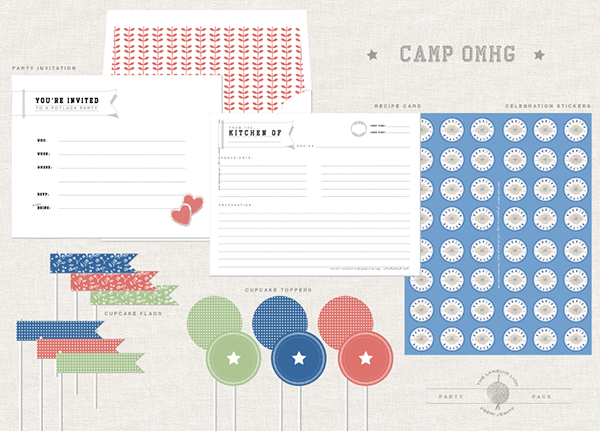
Summer is here and with it comes pool parties, barbeques, outdoor celebrations and camp (of course!). Those of us with creative businesses often find the summer to be a bit slower and a great time to catch up on all those pesky tasks that we can't seem to find the time for during the busy seasons, but are also super busy with our personal lives. Earlier this month, I … [Read more...] about CAMP OMHG PRINTABLE PARTY PACK
Printable Blog Post Planner + Marketing Worksheet
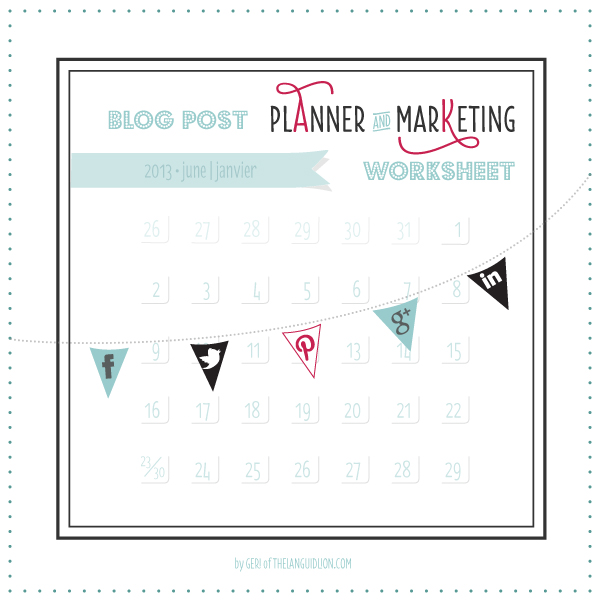
Marketing can be a tricky and time-consuming venture when you're the owner of a creative business; I mean, you've got orders to fill, products to make, services to provide, books to keep...But, it's an important tool and skill to develop that will help get you and your business out there and recognized. One of the easiest, fastest and cost-effective way to promote yourself … [Read more...] about Printable Blog Post Planner + Marketing Worksheet